Delve into the comprehensive Premiere Pro tutorial that provides practical exercises on editing audio, working with audio effects, adding markers to the timeline, and creating a promotional advertisement with voiceovers and background music.
This exercise is excerpted from Noble Desktop’s Adobe Premiere Pro training materials and is compatible with Premiere Pro updates through 2023. To learn current skills in Premiere Pro with hands-on training, check out our Premiere Pro Bootcamp, Video Editing Certificate, and video editing classes in-person and live online.
Topics covered in this Premiere Pro tutorial:
Editing Audio, Nesting Sequences, Working with Audio Effects, Adding Markers to the Timeline
Exercise Preview
Exercise Overview
In this exercise you will create a promotional advertisement. This promo will be based around a voice over that you will have to edit into a usable form. You will then add some background music and a variety of videos.

Previewing the Final Video
Let’s see a preview of what you’ll be making. If you’re in Premiere Pro, keep it open but switch to your Desktop.
On the Desktop, navigate to Class Files > Premiere Pro Intermediate > Noble Promotional Ad and double–click Noble Promo.mp4
-
Notice the following:
- The video contains a voice-over.
- There is music playing lightly in the background of the video.
- The video cuts to match the voice-over and not the music’s beat.
Replay the video if you need to. We’ll be reproducing it in a series of exercises.
Close the video when done.
Getting Started
If you have a project open in Premiere, choose File > Close All Projects.
In Premiere Pro, choose File > Open Project or hit Cmd–O (Mac) or Ctrl–O (Windows).
Navigate to Desktop > Class Files > Premiere Pro Intermediate > Noble Promotional Ad.
-
Double–click on Noble Promo Ad - Started.prproj to open it.
NOTE: If you see a dialog about Converting Project (from a prior version) refer to Fixing Version Compatibility Issues section in Exercise 1A. If the Link Media dialog opens refer to Locating Missing Media in Exercise 1A.
-
Go to File > Save As and:
- Name the file Noble Promo Ad - Your Name
- Save it to Desktop > Class Files > Premiere Pro Intermediate > Noble Promotional Ad
Choose Window > Workspaces > Editing.
In the Project panel, click on the arrow next to the 01 - Video bin to expand it.
Click on the arrow next to the Classroom bin to expand it as well.
Drag classroom Pan 01.mov it into the empty Timeline to create a new sequence.
In the Project panel, drag the new sequence to the left a bit and release to remove it from the Classroom bin.
Click on the arrow
 next to the 01 - Video bin to collapse it.
Ctrl–click (Mac) or Right–click (Windows) on the new sequence (which is named classroom pan 01) and choose Rename.
Change the sequence’s name to Noble Promo, then click on any area of the Program panel to finalize the name change.
- Choose the Selection tool
 .
. Click on the clip on the Timeline to select it.
-
Press the Delete (Mac) or Backspace (Windows) key to delete the clip.
Now you have an empty sequence to use to assemble the promo.
-
With the sequence active, choose Sequence > Sequence Settings.
- If Display Format does not say 29.97 fps Drop-Frame Timecode change it to that.
Choose File > Save or hit Cmd–S (Mac) or Ctrl–S (Windows).
Drop-Frame Timecode
Drop-Frame Timecode is more commonly used and is intended to make the video timecode display more accurate to actual time (seconds, minutes, and hours). It will make sure our timecode display for this sequence matches the audio that we’re using for the voice–over. To learn more about it tinyurl.com/df-comparison
If you’re doing broadcast video, you must use drop-frame. For most other video it doesn’t matter which you use. Make sure everyone on a project is using the same timecode display, and typically all sequences within a project should use the same timecode display.
Assembling the Voice-Over
Before we begin, it’s important to note that Premiere Pro is not a dedicated audio editing application. So if you wanted to score a movie we would never recommend trying to do it here. However, it does have a variety of tools that allow you to edit and enhance audio, especially when it comes to working with dialog.
In the Project panel, click on the arrow next to the 02 - Audio bin to expand it.
-
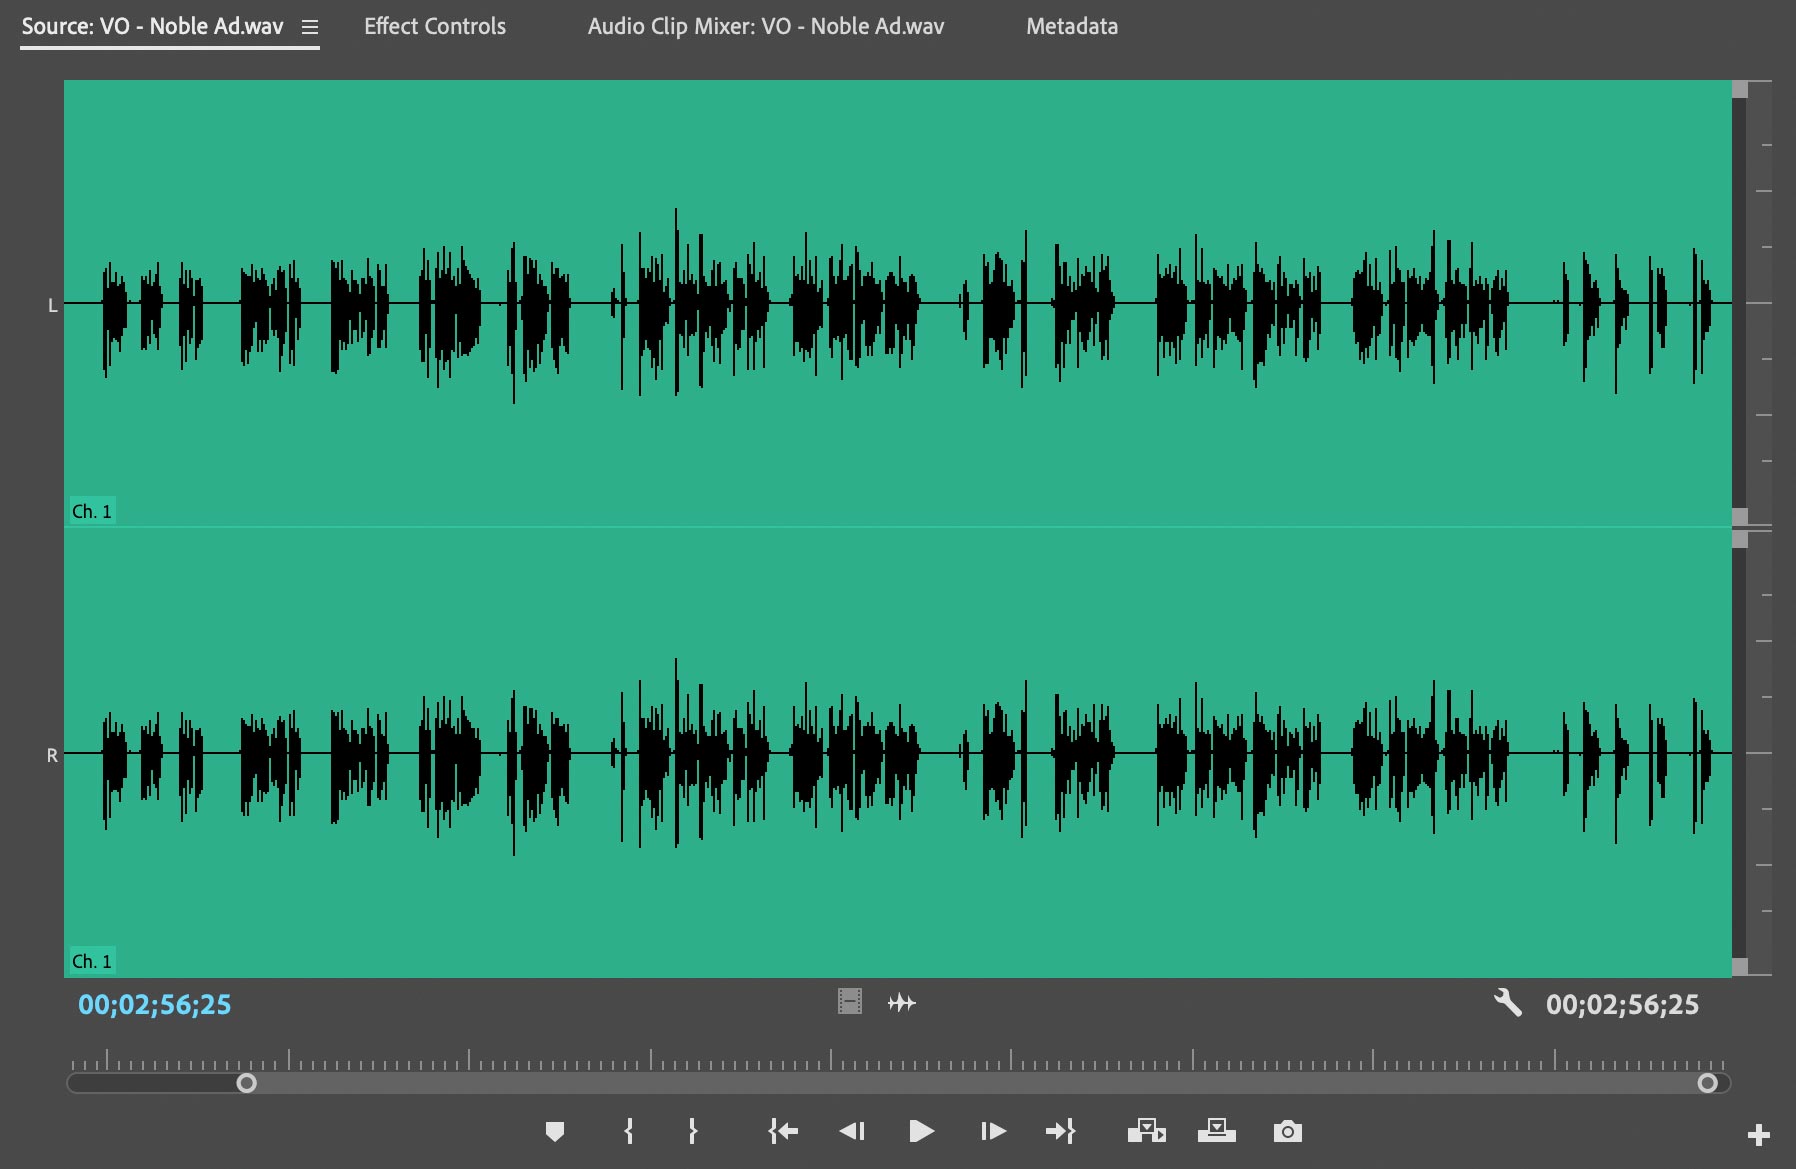
Double–click on VO - Noble Ad.wav to load it into the Source panel.
NOTE: VO stands for voice over.
-
Press the Spacebar to preview this audio file.
Skip the first 30 seconds or so which is just room tone. A couple of things you may have noticed:
- The voice-over is a mono audio file, meaning it has only a single audio channel, unlike the dual channel stereo audio you have been working with. This isn’t a problem for Premiere Pro though.
- The voice–over contains multiple takes of each section.
- There are a few places where there are errors or time the talent misspoke.
- There are a couple of points where there are noticeable breath sounds.
We’ll address all these issues so we can have usable audio for the project.
-
In the Source panel we’ll mark the intro:
Move the playhead to 31:05 and press I to set an In Point.
Move the playhead to 34:00 and press O to set the Out point.
At the bottom of the Source panel, drag the Drag Audio Only icon
 into the Program panel and drop it onto Insert After (on the right side of the panel).
This becomes the first audio clip on the timeline.
-
Back in the Source panel we’ll mark the first sentence:
- Move the playhead to 43:20 and press I to set an In Point.
- Move the playhead to 49:00 and press O to set the Out point.
- Drag the Drag Audio Only icon into the Program panel and drop it onto Insert After.
This adds the second audio clip to the timeline.
-
Now for the second sentence, in the Source panel again:
Move the playhead to 59:05 and press I to set an In Point.
Move the playhead to 1:04:28 and press O to set the Out point.
Drag the Drag Audio Only icon
into the Program panel and drop it onto Insert After.
This adds a third clip to the timeline.
-
Continue to add In and Out Points in the Source panel and add those clips to the Timeline using the Insert After method from above:
Clip Number Content In Point Out Point Clip 4 “line 3” 2:02:24 2:19:11 Clip 5 “outro” 2:50:05 2:54:07 -
Move the playhead to the start of the Timeline and press the Spacebar to preview the voice-over.
Notice that there is a very long pause at the beginning of the fourth clip, just before the speaker says “For years Noble Desktop…”
Double–click on the fourth clip to load it into the Source panel.
In the Source panel, move the playhead to 2:03:23 and press the I key to set a new In Point for this clip.
-
Back in the Timeline, click on the gap that was created at the beginning of the audio clip and press Delete (Mac) or Backspace (Windows) to ripple delete it.
NOTE: An alternative to this method is to use the Ripple edit tool directly on the clip in the timeline.
Choose File > Save or hit Cmd–S (Mac) or Ctrl–S (Windows).
Enhancing Audio on Your Timeline
Once audio has been added to a timeline, effects can be used to either fix or stylize it. The only problem with using effects is that while they can be applied simultaneously to a group of clips on the Timeline, they can only be edited individually clip by clip. Because of this downside, we’ll convert the 5 individual clips on the Timeline into a Nested Sequence.
If You Didn’t Do the Earlier Parts & Want a File To Do This Part
If a project is open in Premiere Pro, go to File > Save, then File > Close Project.
Go to File > Open Project and navigate to Desktop > Class Files > Premiere Pro Class > Noble Promotional Ad > Finished Projects.
Double–click on Noble Promo Ad - Enhancing Audio.prproj.
Go to File > Save As. Name the file Your Name - Noble Promo Ad.prproj and save it to Desktop > Class Files > Premiere Pro Class > Noble Promotional Ad.
-
Click on the Track Select Forward tool
 .
.NOTE: You can press the A key to activate the Track Select Forward tool.
-
With the Noble Promo sequence active in the Timeline, click on the first audio clip.
The Track Select Forward tool will select every clip on every track to the right of the one you click on.
Ctrl–click (Mac) or Right–click (Windows) on any one of the highlighted clips and choose Nest.
Name it AD - VO and click OK.
-
Choose the Selection tool
and click on the nested sequence on the Timeline to select it.- If the nested sequence’s waveform is not visible, choose Sequence > Render Audio.
-
If the Effects panel isn’t visible in the panel group to the left of the Timeline, choose Window > Effects.
NOTE: You can also open the Effects panel by pressing Shift–7 or by using the double arrow
 in the top right corner of the Project panel group and choose Effects.
 In the Effects panel’s search filed type dynamics
Double–click the Dynamics effect to apply it to the highlighted clip on the Timeline.
At the top left of the window click on the Effect Controls panel. If you can’t find it, choose Window > Effect Controls.
-
In the Effect Controls panel, locate the Dynamics effect.
NOTE: If needed, click the arrow next to Dynamics to reveal its settings.
In Dynamics, click the Edit button next to Custom Setup.
In the Clip FX Editor that appears, click the AutoGate switch on.
-
Set the AutoGate’s Threshold value to -35 db.
NOTE: For more control over audio, consider using Adobe Audition which is specifically for audio editing.
-
Close the Clip FX Editor.
NOTE: To close it click the red button on the top left of the panel (Mac) or the X on the top right of the panel (Windows).
Choose Window > Workspaces > Audio.
Choose Window > Workspaces > Reset to Saved Layout.
In the Essential Audio panel on the right, select the Edit tab if it’s not already on it.
Click the Dialogue button to define the audio clip as dialogue and switch to the panel’s dialogue editing options.
Check on the checkbox next to EQ to enable equalizer effects.
Change the EQ Preset menu to Subtle Boost (Male) and change the amount to 6.5
Check on the checkbox next to Reverb (you may have to scroll down to see it).
From the Reverb Preset menu choose Large Reflective Room and set the amount to 2.0
Choose Window > Workspaces > Editing.
Choose Window > Workspaces > Reset to Saved Layout.
-
In the Project panel:
- Click the New Bin button

- Name the new bin 04 - Nested Sequences
- Click the New Bin button
Drag the AD - VO sequence into the 04 - Nested Sequences bin.
Choose File > Save or hit Cmd–S (Mac) or Ctrl–S (Windows).
Editing a Clip in a Nested Sequence
Just because you add clips to a nested sequence doesn’t mean you can’t keep editing them. In this section of the exercise you will adjust the length of one of the audio clips in the AD - VO sequence.
If You Didn’t Do the Earlier Parts & Want a File To Do This Part
If a project is open in Premiere Pro, go to File > Save, then File > Close Project.
Go to File > Open Project and navigate to Desktop > Class Files > Premiere Pro Class > Noble Promotional Ad > Finished Projects.
Double–click on Noble Promo Ad - Editing Nested Sequence.prproj.
Go to File > Save As. Name the file Your Name - Noble Promo Ad.prproj and save it to Desktop > Class Files > Premiere Pro Class > Noble Promotional Ad.
Using the Selection tool
double–click on the AD - VO sequence (it’s in the Project panel’s 04 - Nested Sequences bin). This opens the sequence as a new tab in the Timeline.-
In the AD - VO sequence, move the playhead to 30;05
The last clip has a very long pause before the speaker begins. You can adjust that here in the sequence and it will automatically be updated wherever this sequence is being used.
- Hold Shift and press the + (plus) key to expand the height of tracks in the Timeline.
Choose the Ripple Edit tool
 by clicking on it in the Tools panel or by pressing B on your keyboard.
-
Hover over the beginning of the last clip on the Timeline and drag it to the playhead (make sure the yellow arrow is facing in the direction of the clip you want to adjust).
This trims the clip while at the same time preventing a gap from forming.
Move the playhead back to the edit line at the beginning of the last clip and press Shift–K to run the play around command.
Close the AD - VO sequence by clicking the little x next to the name at the top of the Timeline.
- Move the playhead to 32;14 in the Noble Promo timeline.
- Press the + (plus) key a few times to zoom in on the Timeline.
- Hold Shift and press the + (plus) key to expand the height of tracks in the Timeline.
With the Ripple Edit tool
still active, trim the end of the clip to the playhead to trim off the green hatched lines at the end of the clip.- Move the playhead to 0;10
Using the Ripple Edit tool, trim the beginning of the clip to the Playhead.
Choose Sequence > Render Audio. You should now see the waveform of the nested sequence on the Timeline.
Choose File > Save or hit Cmd–S (Mac) or Ctrl–S (Windows).
Adding Music to the Timeline
- Move the Timeline playhead to 5;00
- Choose the Selection tool .
In the Project panel, click on the arrow next to the 02 - Audio bin.
-
Drag Cornelius_Wataridori.mp3 onto the Audio 2 track in the Noble Promo sequence, so the clip starts at the playhead.
NOTE: Starting the music after the voice over can create an appealing effect. In and Out points have already been added to this clip to mark a 30 second area at its end.
Preview the Timeline. The music is much too loud to be usable since you can no longer hear the voice–over.
- Click on the music clip on Audio 2 to highlight it.
Hit Cmd–Shift–D (Mac) or Ctrl–Shift–D (Windows) to apply the default audio transitions to the clip’s start and end (or choose Sequence > Apply Audio Transition).
In the Effect Controls panel, click on the arrow next to Volume to expand it.
To the left of Level, click on the Toggle Animation stopwatch
 to turn off animation (so we can have one setting for the whole clip).
Change Level to -43 dB (or whatever level you think sound good for the music).
Preview the Timeline. The music now fades in a few seconds after the voice over starts, and then fades out at the end.
Choose File > Save or hit Cmd–S (Mac) or Ctrl–S (Windows).
Adding Markers to a Nested Sequence
When working with voice–overs, markers can be helpful for syncing up your visuals.
Click on the AD - VO sequence (on Audio 1) to select it.
- Move the playhead to 3;28
- Press MM (that’s the M key twice) to set a marker and open the Marker dialog.
- Name it Graphic Design
- Change the Marker Color to white and click OK.
-
Move the playhead to 4;22
- Press MM to set a marker and open the Marker dialog.
- Name it Video Editing.
- Change Marker Color to white and click OK.
-
Move the playhead to 5;17
- Press MM to set a marker and open the Marker dialog.
- Name it UX
- Change Marker Color to white and click OK.
Choose File > Save or hit Cmd–S (Mac) or Ctrl–S (Windows).
Optional Bonus If you Have Time: Adding More Markers
If you want to continue adding markers for practice, below are the ones we need. In the next exercise we’ll provide you with a starter file with all these created, so you can skip this step if you don’t want to do it.
Remember, to add a marker to a clip in the Timeline, you must first select that clip.
| Timecode | Name | Color |
|---|---|---|
| 6;07 | Web Design | White |
| 7;07 | We Have a Class | White |
| 9;04 | Coding | White |
| 10;24 | Web Sites | White |
| 11;11 | Applications | White |
| 12;11 | Analyzing Data | White |
| 14;19 | For Years Noble | White |
| 17;27 | Our in Class | White |
| 23;04 | Learn Then Practice | White |
| 30;12 | What Do You | White |
When you are done adding markers, remember to save your file.
Converting Audio Channels
Most voice-overs are recorded as mono audio files, that is they only have a single channel of audio where a stereo file has two. While Premiere Pro has no problems working with both stereo and mono files, even in the same sequence, in some situations you may be asked to convert an audio file from mono to stereo or vice–versa for use in your project. It is easy to change the way the application is interpreting an audio file.
In the Project panel, in the 02 - Audio bin Ctrl–click (Mac) or Right–click (Windows) on VO - Noble Ad.wav and choose Modify > Audio Channels.
Change Clip Channel Format to Stereo.
Check on the checkbox next to the R that just appeared. This allows the program to interpret the mono clip as stereo.
Click OK.
Now Premiere will duplicate one channel to both sides. You must do this before adding it to a Timeline, as this does not affect clips already in sequences!