Master the art of preparing an image for print using Photoshop with guidance on using the Unsharp Mask filter and the Threshold adjustment. Additionally, learn the difference between grayscale and bitmap color mode and how it affects your output.
Key Insights
- The tutorial covers the use of the Unsharp Mask adjustment, the Threshold adjustment, the Bitmap color mode, and the difference between Grayscale and Bitmap for image preparation.
- The Unsharp Mask filter sharpens images by increasing contrast between adjacent pixels, enhancing the art.
- The Threshold adjustment is used to adjust the image until satisfactory results are achieved; in this context, a setting of '128' is recommended.
- After the pixels are either black or white, the tutorial suggests changing to Bitmap color mode to save hard drive space.
- The Despeckle filter can be used to remove unwanted dirt from the image; however, this can't be applied in Bitmap Mode and it may lead to loss of image detail.
- Finally, the tutorial reiterates applying the steps in the 'Making Adjustments in the Grayscale Color Mode' section after the Despeckle filter is used to get a clean result.
Learn how to prepare a line art image for print using Photoshop, including how to use the Unsharp Mask and Threshold adjustments, and the benefits of Bitmap color mode over Grayscale.
This exercise is excerpted from Noble Desktop’s past Photoshop training materials and is compatible with Photoshop updates through 2020. To learn current skills in Photoshop, check out our Photoshop Bootcamp and graphic design classes in NYC and live online.
Topics Covered in This Photoshop Tutorial:
The Unsharp Mask Adjustment, the Threshold Adjustment, the Bitmap Color Mode, Grayscale Vs. Bitmap
Exercise Preview

Exercise Overview
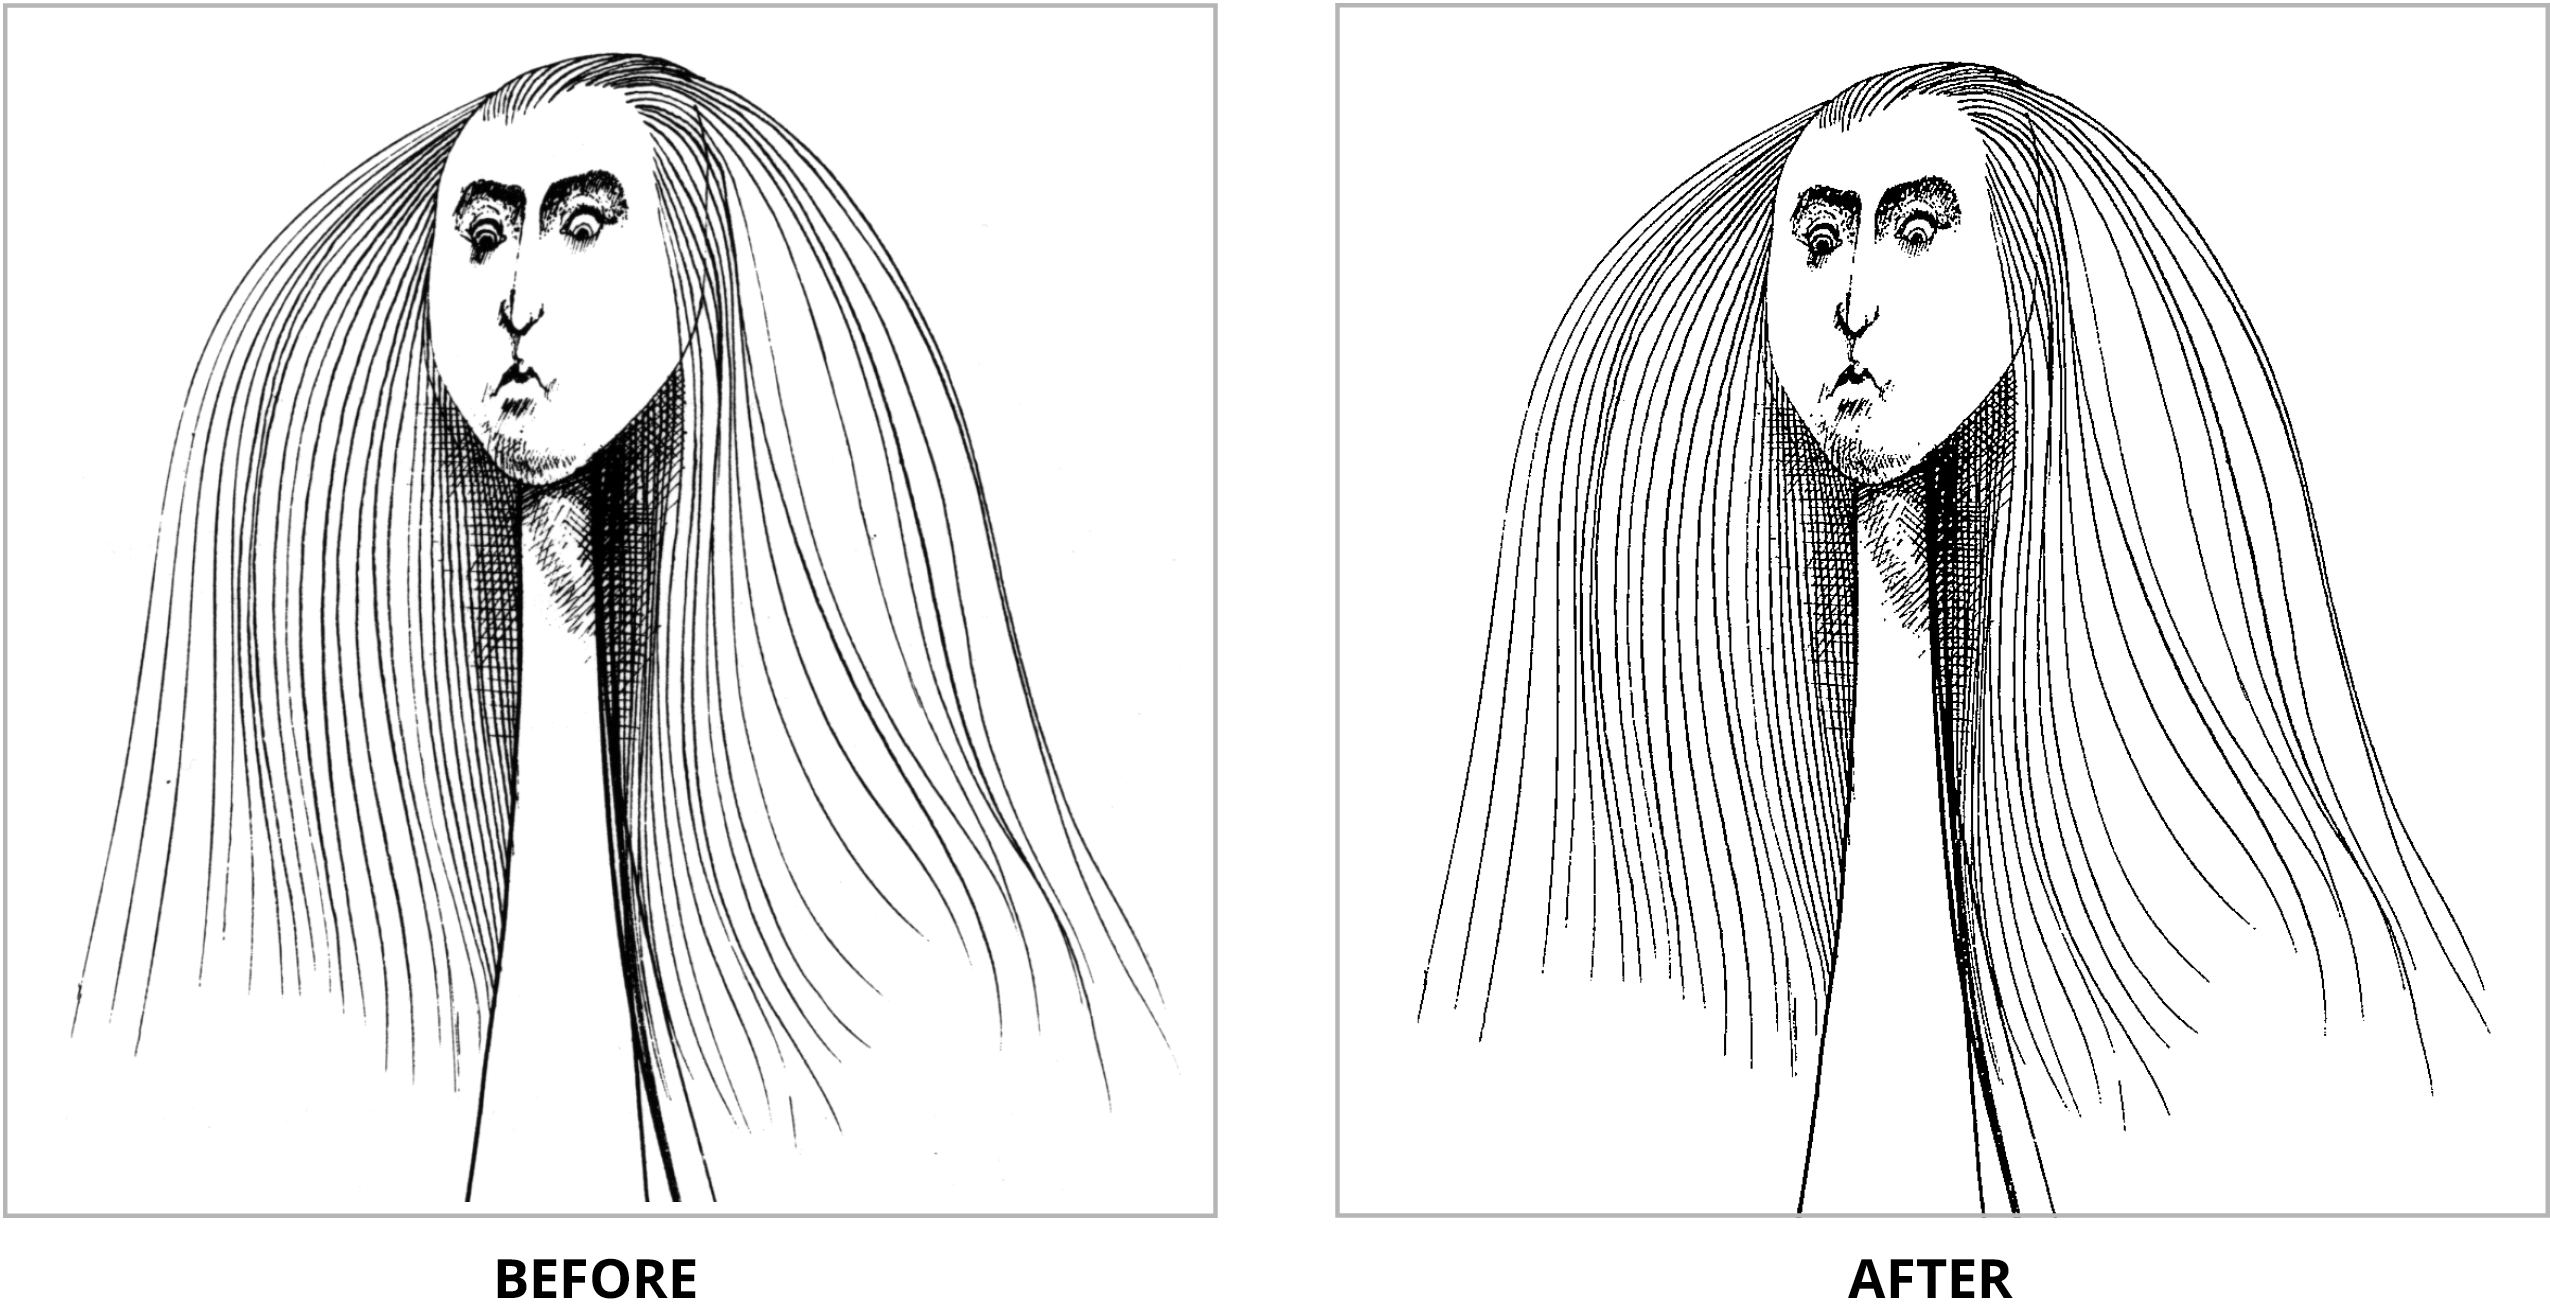
In this exercise, you will take a line art image and prepare it for print. In order to effectively scan detailed line art, one technique is to scan in grayscale. The higher the resolution, the better. If you can scan at 800 ppi, you will probably be OK up to 1200 dpi output. If you scan at higher resolution (such as 1200 ppi) that’s better.
-
From the Photoshop Class folder, open the image Alice.tif.
NOTE: This image was scanned as grayscale at 600 ppi.
Go to View > 100%. This will give you the most accurate screen rendition of the image.
Making Adjustments in the Grayscale Color Mode
-
The Unsharp Mask filter sharpens images. It increases contrast between adjacent pixels, so it will enhance the art. Go into Filter > Sharpen > Unsharp Mask and put in these values:
Amount: 500% Radius: 1 px Threshold: 5 Click OK.
Reapply the filter by hitting CTRL–Cmd–F (Mac) or CTRL–ALT–F (Windows). If you like it, leave it. If you think you lost too much ink, undo it.
Now go into Image > Adjustments > Threshold.
- Move the slider back and forth until you are satisfied with the preview image. You should find a setting of 128 works well here.
- Click OK.
The last step is to convert this image from grayscale to line art. Since all of the pixels are either black or white, we will change to Bitmap color mode to save hard drive space. Go into Image > Mode > Bitmap.
Leave the Output field at 600, but under Method, make sure Use is set to 50% Threshold. This assures that all black pixels will stay black, and all white pixels will stay white. Click OK.
The Despeckle Filter
-
Look at the image. You’ll see that the line work is good, but there is a lot of dirt.
You can clean this manually with the Eraser tool
 , or you can try using Filter > Noise > Despeckle to remove the specks automatically. However, you cannot apply filters in Bitmap Mode, and if you use Despeckle, you may lose some detail in your line work. Each drawing reacts differently to Despeckle, so be careful in practice. However, Despeckle works quite well here, so let’s try it.
 First, we must switch out of Bitmap Mode. Revert the file to the original by going to File > Revert.
Before doing anything, just apply the Despeckle Filter. You’ll find it under Filter > Noise > Despeckle. There is no value setting here, because it is built-in. So just apply it and enjoy. You may not see any difference, but later on, you will.
-
Once you have applied the filter, go back and redo the Making Adjustments in the Grayscale Color Mode section. You’ll see there is much less dirt. It will now be easier to clean up with the Eraser tool
 .
.This may not look as nice as the original grayscale image on-screen, but you’ll avoid the use of halftone dots in the printing process, giving the image sharp, defined edges. You can use the same process on any other piece of line art!


