Explore in depth how to use a jQuery plugin called Smooth Scroll and learn crucial techniques like initializing the plugin, linking to the plugin files, and customizing plugin behavior with options.
This exercise is excerpted from Noble Desktop’s past JavaScript training materials. Noble Desktop now teaches JavaScript and the MERN Stack in our Full Stack Development Certificate. To learn current skills in web development, check out our coding bootcamps in NYC and live online.
Topics Covered in This JavaScript & JQuery Tutorial:
Linking to the Plugin Files, Initializing the Plugin, Customizing Plugin Behavior with Options
Exercise Preview
Exercise Overview
jQuery lets developers write many jQuery code and package it together in a way that’s easy for others to use the functionality. These are called plugins, and they are extremely useful and a huge time saver! They enable you to create complex interactivity with very little work on your part. Many jQuery plugins are free. Some cost money, but are cheap compared to the time it would take you to code the same functionality.

In this exercise, you’ll learn how to use a jQuery plugin called Smooth Scroll. It lets you create a single page site with navigation that scrolls down the page with a sliding animation.
Getting Started
- Open your code editor if it isn’t already open.
- Close any files you may have open.
- For this exercise we’ll be working with the Smooth-Scroll folder located in Desktop > Class Files > yourname-JavaScript jQuery Class. You may want to open that folder in your code editor if it allows you to (like Visual Studio Code does).
- Open index.html from the Smooth-Scroll folder.
-
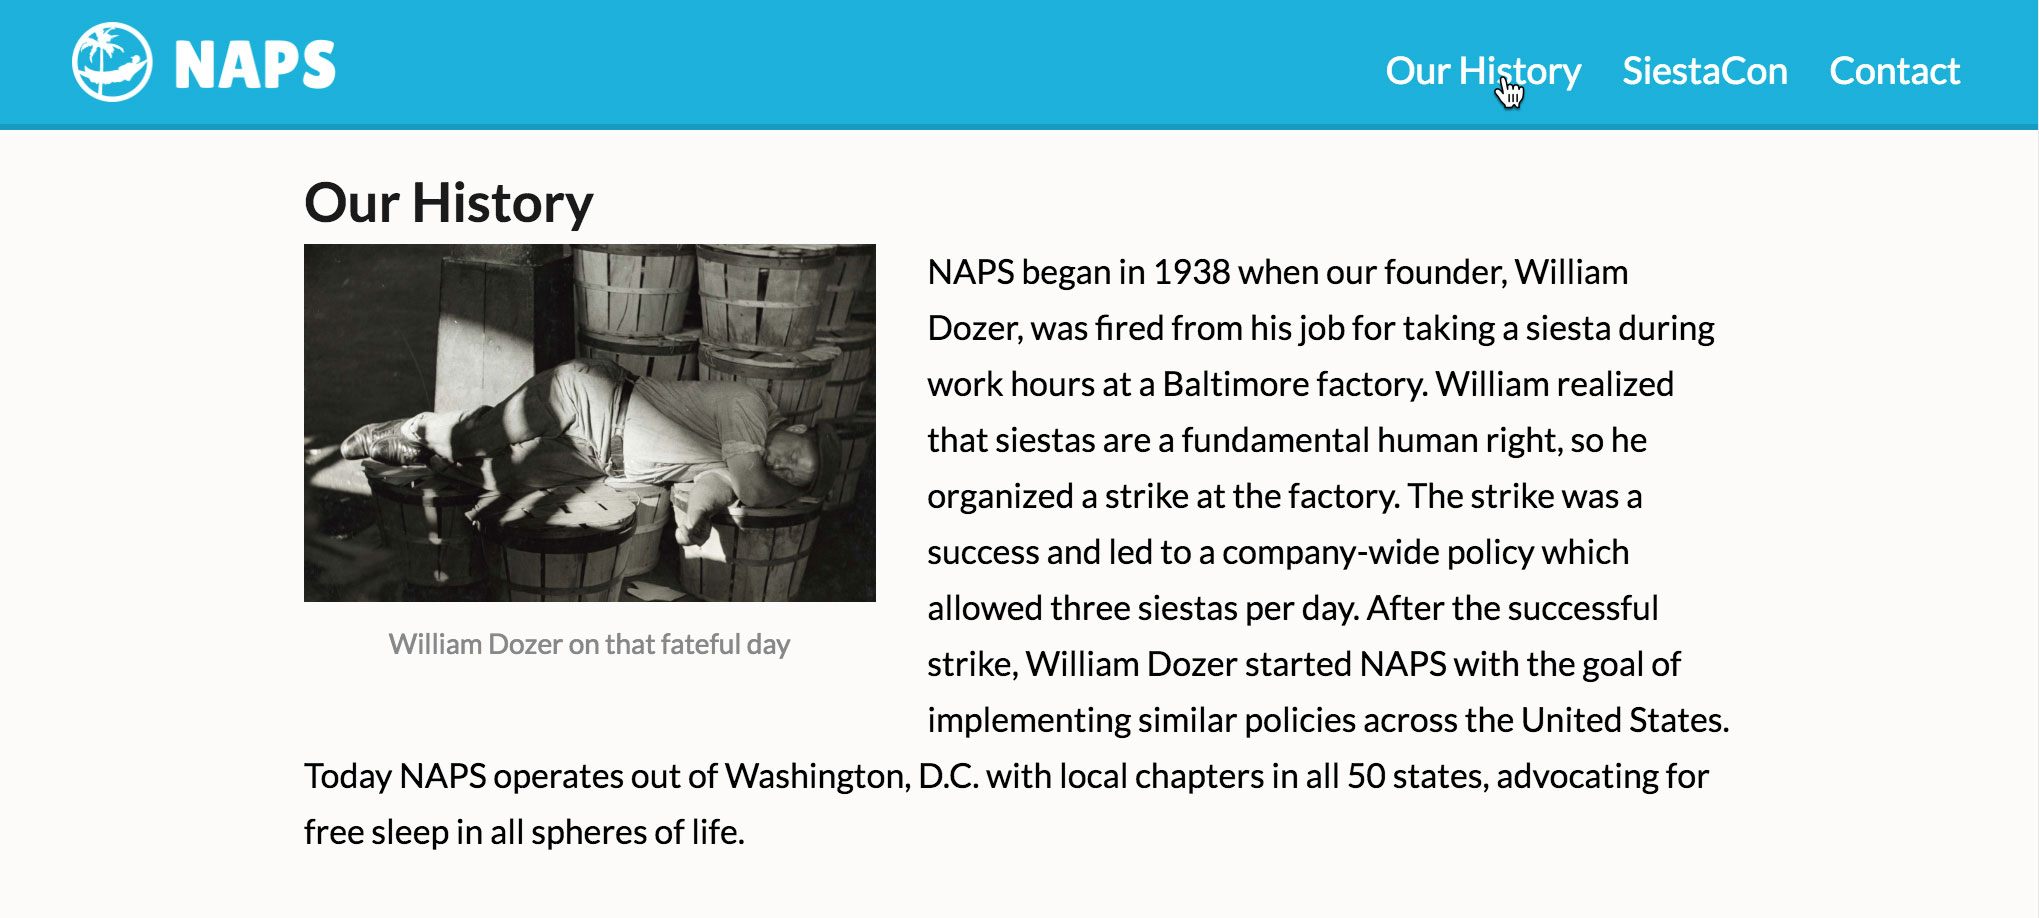
Starting on line 17, notice that each of the three links have an href that’s formatted as #id (#history, #siestacon, #contact).
Each ID corresponds to a section lower in this page. We gave each section an ID and created a link to each of the three sections.
- Preview index.html in a browser. This is the same page we added the random testimonial to in an earlier exercise.
-
Click the SiestaCon link near the top right of the page.
You will be scrolled down to the SiestaCon section. While this works, it’s too abrupt. We’d like the page to slide down with an animation, so users will realize they are being scrolled down the page.
- Leave the page open in the browser so we can come back to it later.
Return to index.html in your code editor.
Linking to the Plugin File
We’ve included the Smooth Scroll file in the class files, but you can also visit tinyurl.com/js-smooth-scroll to download it, read the documentation, and see examples.
As their name implies, jQuery plugins require jQuery to work. Any time we use a jQuery plugin we’ll have to link to jQuery first, before linking to the plugin.
-
To save you some time, we’ve already linked to jQuery and a main.js where we have the JavaScript code for the random testimonial (and where we’ll write our jQuery code).
We need to link to the Smooth Scroll.js file though. On line 67, after the jQuery link, add the following code:
<script src="js/jquery-2.1.0.min.js"></script>
<script src="js/jquery.smooth-scroll.min.js"></script>
<script src="js/main.js"></script>
Save the file.
Initializing the Plugin
We’ve linked to all the files, so we’re ready to initialize the plugin.
- From the js folder, open main.js.
- On line 13 notice we already have jQuery’s document ready code.
-
Inside $(document).ready, add the following bold code to apply smoothScroll() to all links (a tags):
$(document).ready(function() { $('a').smoothScroll(); }); - Save main.js.
- Switch to your browser and reload index.html.
Click on any of the navigation buttons at the top of the page. The page should now smoothly scroll to the appropriate section of the page. Sweet!
Customizing the Plugin with Options
Most jQuery plugins are customizable. The default settings for this plugin work well, but it offers some options to modify how the plugin works. On the Smooth Scroll website tinyurl.com/js-smooth-scroll you can see the features and options available. We want to change the speed of the scroll.
- Switch back to main.js in your code editor.
-
Inside the smoothScroll parenthesis, add
{}as shown below in bold:$('a').smoothScroll({});NOTE: Options for jQuery plugins are listed in Object syntax. The curly braces
{}will contain the list of options. If there are multiple options, they’ll be separated by commas. -
Put the cursor inside the curly braces
{}and hit Return (Mac) or Enter (Windows) to add an empty line, as shown below:$('a').smoothScroll({ }); -
Add the following bold code:
$('a').smoothScroll({ speed:,000 }); - Save main.js.
- Switch to your browser and reload index.html.
- Click on some of the navigation buttons to see that it’s scrolling very slowly. Time is generally measured in milliseconds in JavaScript. The value ,000 is telling the browser to take one second (,000 milliseconds) to scroll to a given section of the page.
- Switch back to main.js in your code editor.
-
Change the speed to 220 as shown in bold below:
$('a').smoothScroll({ speed: 220 }); - Save main.js.
- Switch to your browser and reload index.html.
-
Click on some of the navigation buttons to see that the scrolling is faster. That looks great, and we only had to write few lines of code (thanks to the plugin)!
NOTE: If you want to refer to our final code example, go to Desktop > Class Files > yourname-JavaScript jQuery Class > Done-Files > Smooth-Scroll.
Things Common to All JQuery Plugins
There are tons of jQuery plugins. We’ll look at a few more plugins in the next exercises. They’ll get a little more complicated and interesting, but plugins all have a few things in common:
- Always link to the jQuery.js file before linking to the plugin’s.js file.
- The jQuery code you write to call the plugin must come after the link to the plugin’s.js file.
- If the plugin comes with CSS, link to the plugin’s.css file before your own.css file (so you can override their CSS if needed).
