Dive into a detailed iOS Development tutorial that walks you through the process of setting a custom icon for the map tab, and adding a tab bar to the Jive Factory app.
This exercise is excerpted from Noble Desktop’s past app development training materials and is compatible with iOS updates through 2021. To learn current skills in web development, check out our coding bootcamps in NYC and live online.
Topics Covered in This IOS Development Tutorial:
Setting a Custom Icon for the Map Tab
Exercise Preview
Exercise Overview
In this exercise, we’ll add a tab bar at the bottom of our Jive Factory app. The first tab will have the list of upcoming shows. The second tab will have a map with the location of the Jive Factory.

Getting Started
-
If you completed the previous exercise you can skip the following sidebar. We recommend you finish the previous exercises (1B–2B) before starting this one.
If you completed the previous exercise, Jive Factory.xcodeproj should still be open. If you closed it, re-open it (from yourname-iOS Dev Level 2 Class > Jive Factory).
If You Did Not Complete the Previous Exercises (1B–2B)
- Close any files you may have open and switch to the Desktop.
- Navigate to Class Files > yourname-iOS Dev Level 2 Class.
- Duplicate the Jive Factory Ready for Tab Bar Controller folder.
- Rename the folder to Jive Factory.
- Open Jive Factory > Jive Factory.xcodeproj.
Tab Bar Controller
- In the Project navigator, click on Main.storyboard.
- If the Document Outline is open, click Hide Document Outline
 .
. - We’re going to drag out a large object, so let’s zoom out a bit. CTRL–click or Right–click on a blank area of the Editor. In the menu, choose Zoom to 50%.
- In the search bar of the Object library
 , type: tab bar
- Drag a Tab Bar Controller from the Object library onto the Editor area, to the left of the current controllers. (Don’t worry about the specific position, we’ll adjust it shortly.)
- If the Document Outline popped open again, click Hide Document Outline .
-
Notice Tab Bar Controller comes with the main controller (on the left) plus two view controllers (stacked on top of each other on the right) that are associated with two tabs called Item 1 and Item 2.
We want the Item 1 tab to be associated with our featured band listings, rather than using the default provided controller.
- In the Editor, click anywhere on the white background (outside the controller) to deselect the Tab Bar Controller.
- Click on the top of the Item 1 view controller (the top controller on the right of the new group you just pulled out) so that it is selected and outlined in blue.
- Hit Delete.
- Click on the Tab Bar Controller so it’s outlined in blue.
- Keep the Tab Bar Controller selected, but make sure you can also see the Navigation Controller (the leftmost of our first three controllers).
- In the Utilities area on the right, click on the Connections inspector tab
 .
. -
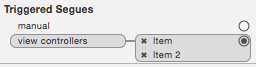
Under Triggered Segues, to the right of view controllers, hover over Item 2 and click the X to delete it as shown below.

There should now be nothing connected to view controllers under Triggered Segues.
- With the Tab Bar Controller still selected, under Triggered Segues, hover over the circle to the far right of view controllers. A + sign will appear in the circle.
- Hold Control and drag from the + to the Navigation Controller in the Editor area, then release.
- We also need to link it to Item 2. Hover over the circle to the far right of Item.
- Hold Control, drag from the + and release over the Item 2 controller in the Editor area.
-
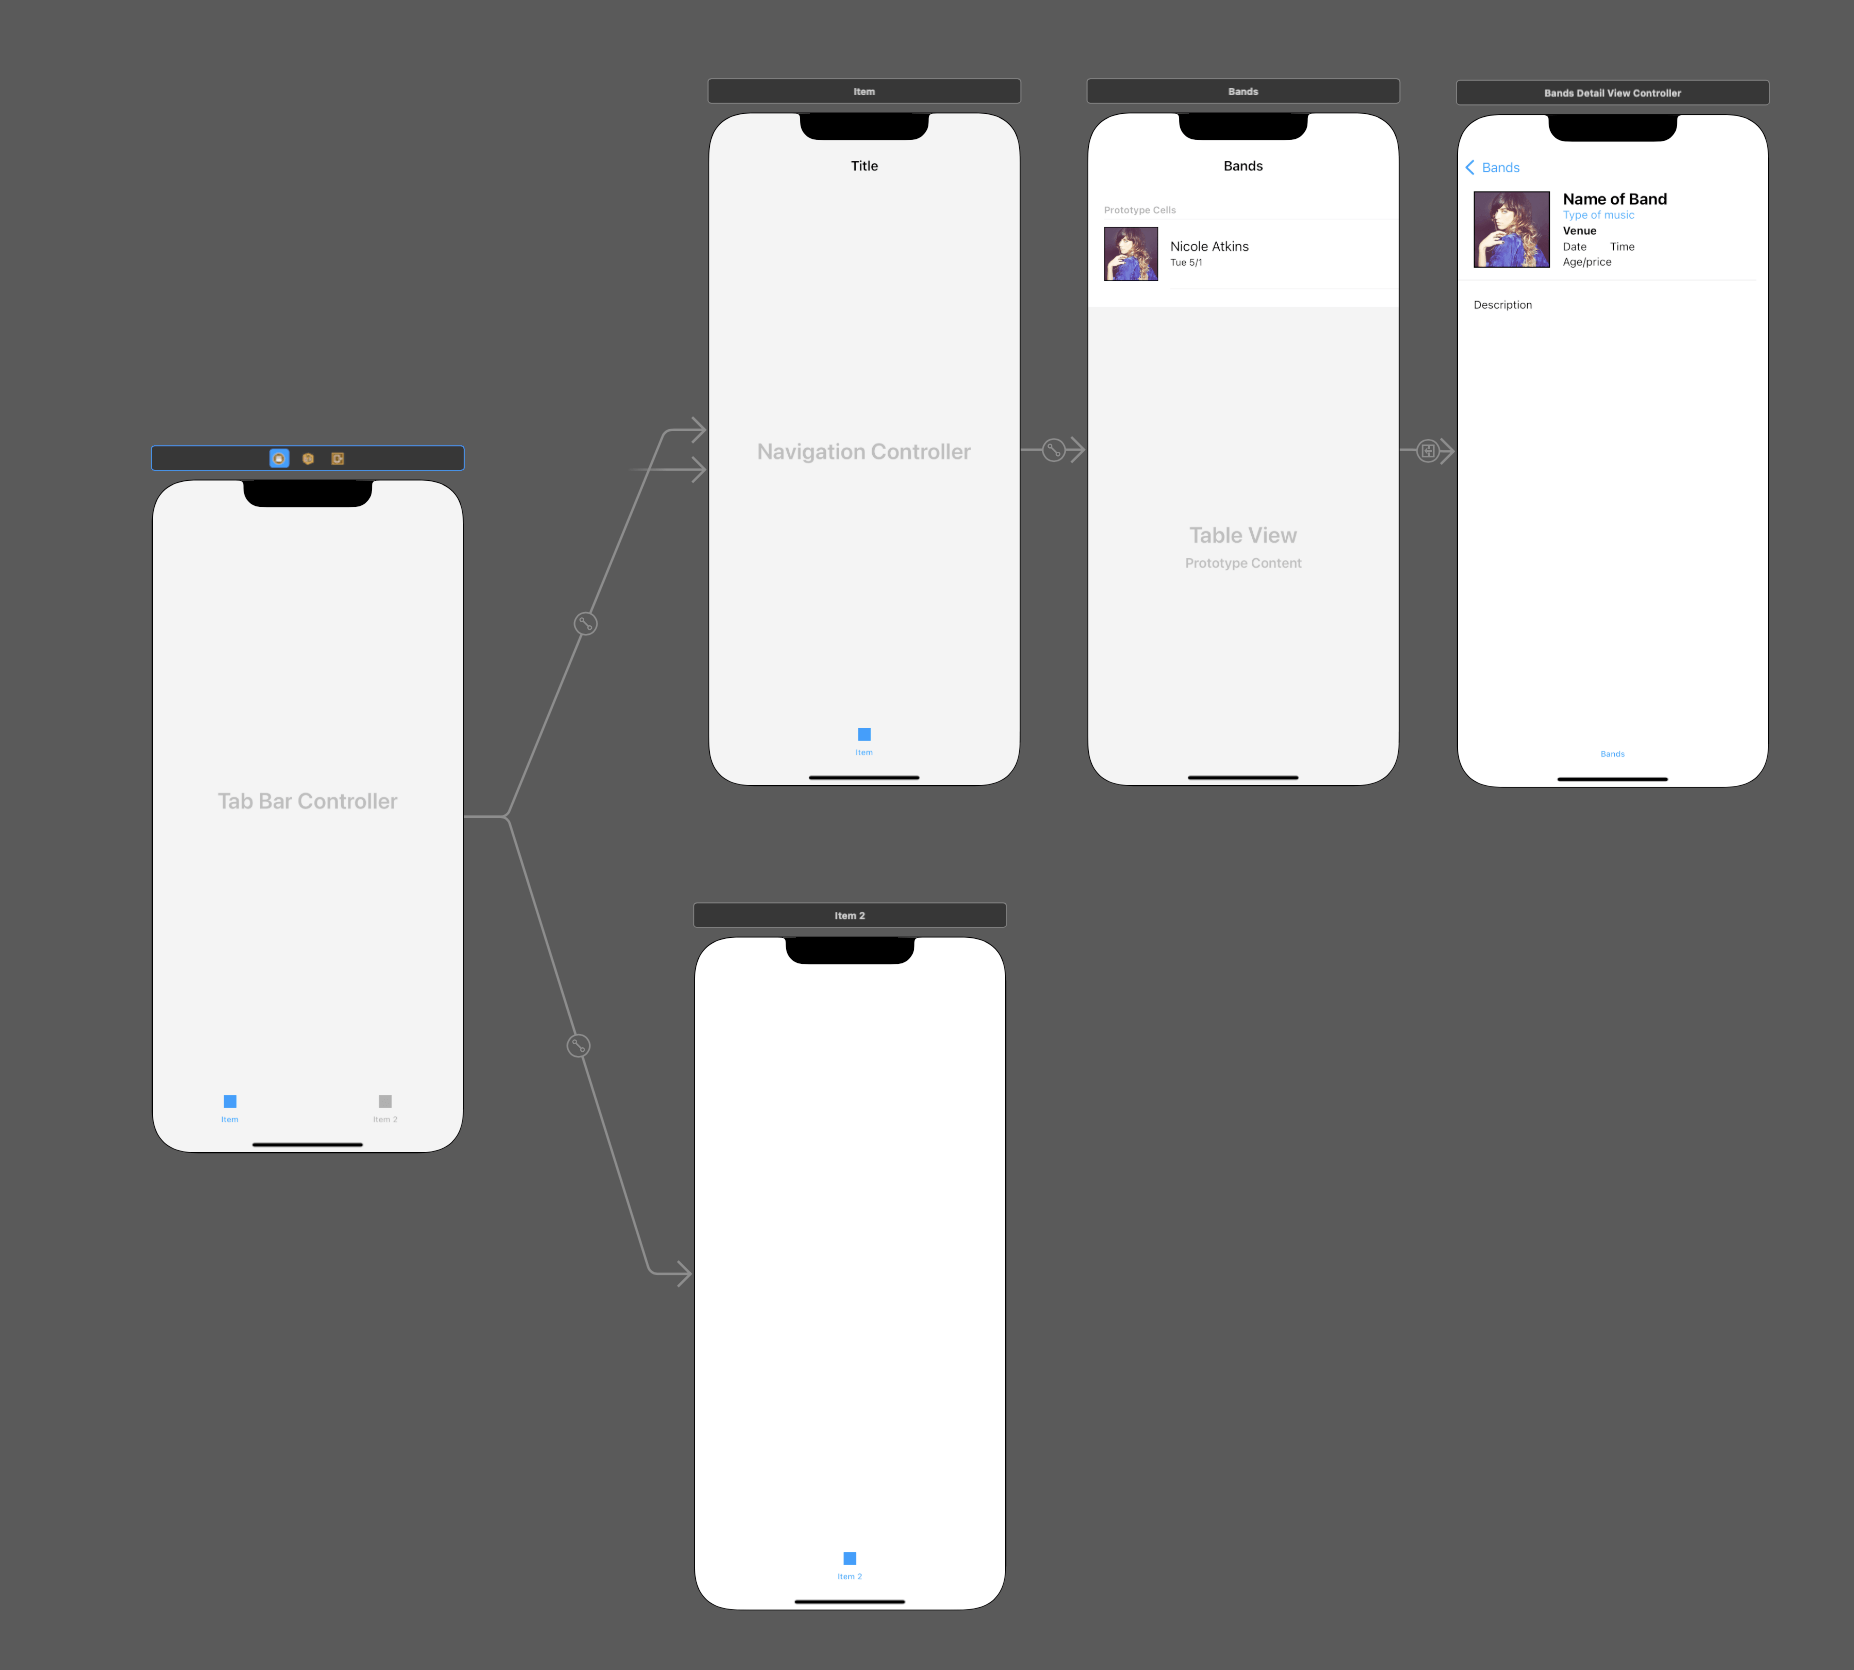
The two controllers should now have segues from the Tab Bar Controller as shown below:
-
Let’s tidy up our work area. Arrange the controllers in the Editor as shown below:
- CTRL–click or Right–click on a blank area of the Editor and chose Zoom to 100%.
-
We can have different images for each tab bar item. At the bottom of the Navigation Controller click on the gray box to select it.
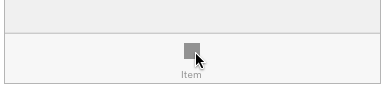
NOTE: Depending on your settings, you may have a gray box with Item hidden “behind” it, as shown below. Regardless, clicking on the bottom of the gray box should allow you to proceed to the next step.

- In the Attributes inspector
 , from the System Item menu, choose Featured.
 Notice a Featured icon now appears at the bottom of the Navigation Controller.
Setting a Custom Icon for the Map Tab
Later, we’ll be creating a location map. There isn’t a default map icon, but we can add our own custom icon.
- In the Project navigator, click on Assets.xcassets so we can add some more images.
- Switch to the Desktop and navigate to Class Files > yourname-iOS Dev Level 2 Class > Icons.
- Hit Cmd–A to select all the images in that folder.
- With Xcode visible, drag the images to either column in the Editor.
- In the Project navigator, click on Main.
- At the bottom of the Item 2 controller, select the bottom of the gray box that says Item 2.
- In the Attributes inspector under Bar Item set the following:
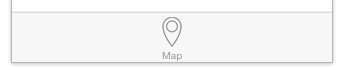
- Next to Title delete any existing text, type Map and hit Return.
- From the Image menu, choose locationIcon.
-
As shown below, you should now have the Map icon on the tab bar of the View Controller.
-
We need to change the Tab Bar Controller to be the Initial View Controller (right now it’s set to the Navigation Controller). Drag the gray arrow that is currently to the left of the Navigation Controller and drop it on the Tab Bar Controller.
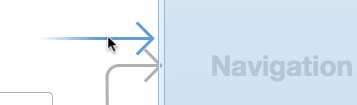
You should end up with the arrow pointing to the Tab Bar Controller.
- Let’s preview what we have so far. Click the Run button.
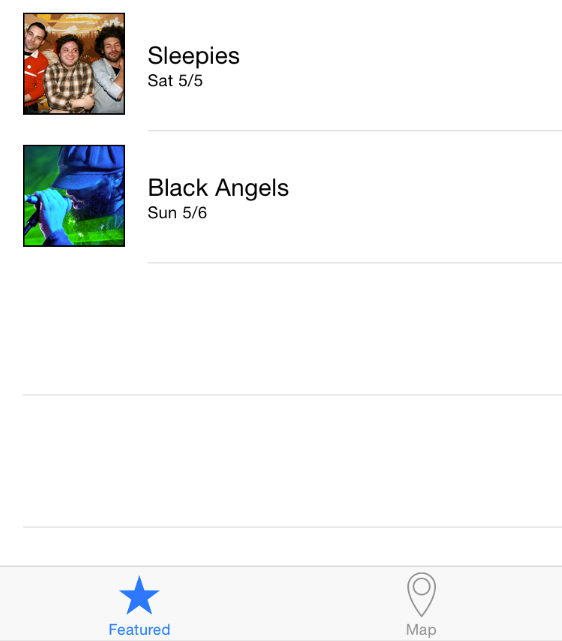
- When the Simulator finishes loading, notice that the list of bands is now in a Featured tab (shown at the bottom).
-
Click the Map tab to switch to it. There is no content in the Map tab yet, but that’s what we’ll be building in the next exercise!
NOTE: The icon we made for the tab bar is black on a transparent background (black indicates the area Xcode will fill in with color). The file was saved as a PNG-24. The blue coloring of the selected icon is all done automatically by the tab bar!
If we wanted to fill in part of the Map icon to match the way Apple’s Featured icon is filled with blue when selected, we’d have to provide a second image and do a bit of programming. We’ll leave the Map icon as is—it looks good.
- Switch back to Xcode.
- Click the Stop button.
- Go to File > Save.
Keep this file open. In the next exercise, we’ll get the Map view working.