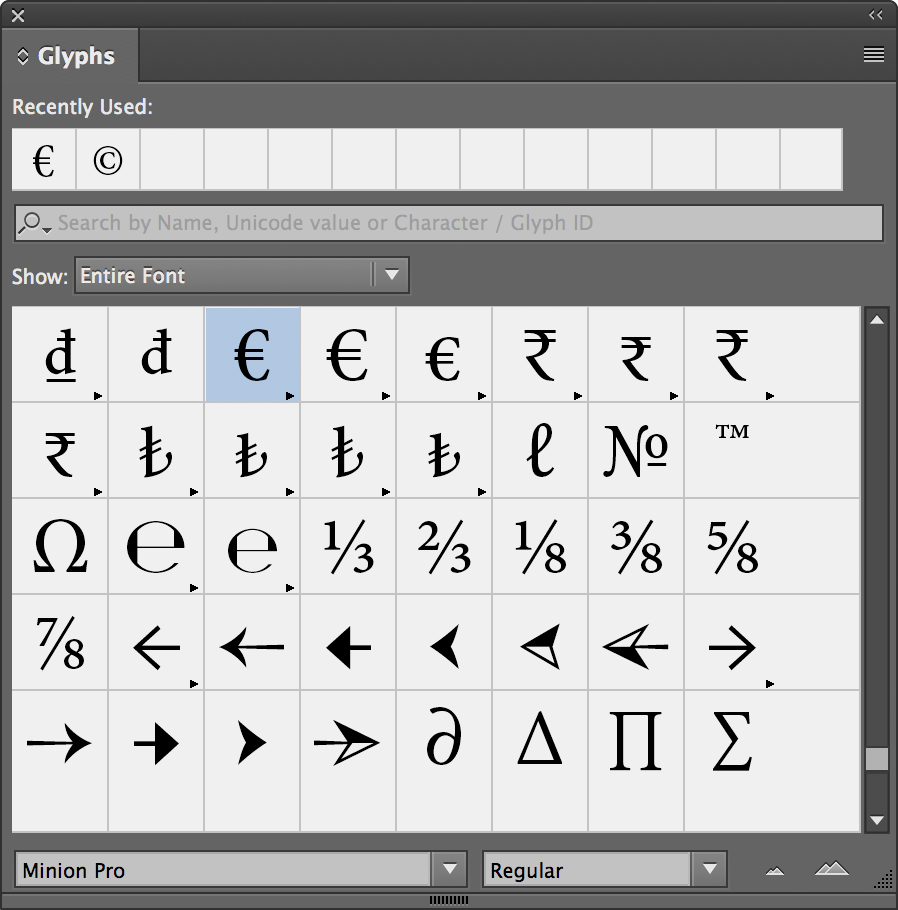
Improve your understanding of manipulating special characters and using the Glyphs Panel in text editing. This insightful guide provides specific steps on how to insert special characters, spaces, breaking characters, and how to utilize the Glyphs Panel.
Key Insights
- Special characters like Copyright Symbols and Trademark Symbols can be inserted by navigating to Type > Insert Special Character.
- For inserting special spaces such as Nonbreaking Spaces and Em Spaces, you can use Type > Insert White Space.
- You can use Type > Insert Break Character to insert special breaking characters like Column Breaks and Frame Breaks.
- If a character is not found in the menus listed, the Glyphs panel is another useful alternative.
- The Glyphs Panel can be used by placing the text cursor where the special character is desired and choosing Type > Glyphs.
- The Glyphs Panel allows you to change the font and adjust the preview size using the Zoom In and Zoom Out buttons, and characters can be inserted with a double-click.
Discover how to insert special characters and use the Glyphs panel with these straightforward instructions and helpful tips.
This exercise is excerpted from past InCopy training materials and is compatible with InCopy updates through 2021. To learn current skills in Adobe Creative Cloud and graphic design, check out our graphic design classes in NYC and live online.
Special Characters & the Glyphs Panel
Inserting Special Characters
Special characters such as Copyright Symbols, Trademark Symbols, Em Dashes, etc. can be found by going into Type > Insert Special Character.
Special spaces such as Nonbreaking Spaces, Em Spaces, etc. can be found by going into Type > Insert White Space.
Special breaking characters such as Column Breaks, Frame Breaks, etc. can be found by going into Type > Insert Break Character.
If you cannot find a character listed in one of the above menus, use the Glyphs panel using the instructions in the section that follows.
Inserting Characters Using the Glyphs Panel
Put the text cursor
 where you want to insert the special character.
-
Go to Type > Glyphs.

The font selected will be the same as the text you are currently editing. If you would like to change the font, do so at the bottom left of the panel.
To enlarge/reduce the previews, use the Zoom In
 and Zoom Out buttons
  at the bottom right of the panel.
Double–click the desired character to insert it.


