Learn how to import Word documents into InCopy, with detailed steps on placing a Word file, removing Word formatting, and maintaining the formatting from Word.
This exercise is excerpted from past InCopy training materials and is compatible with InCopy updates through 2021. To learn current skills in Adobe Creative Cloud and graphic design, check out our graphic design classes in NYC and live online.
Importing Word Documents
Placing a Word File into InCopy
With a document open, put the text cursor
 where you want to import the text.
Go to File > Place.
Click once on a Word file to select it.
If you want to see options to control which Word formatting comes through, check Show Import Options at the bottom of the window (you may have to click the Options button to see it).
Click Open.
If you checked Show Import Options earlier, an options window will be displayed. You must decide whether to keep or remove the formatting that was applied in Word. Follow the directions listed in the appropriate section for your situation.
To Remove Word Formatting

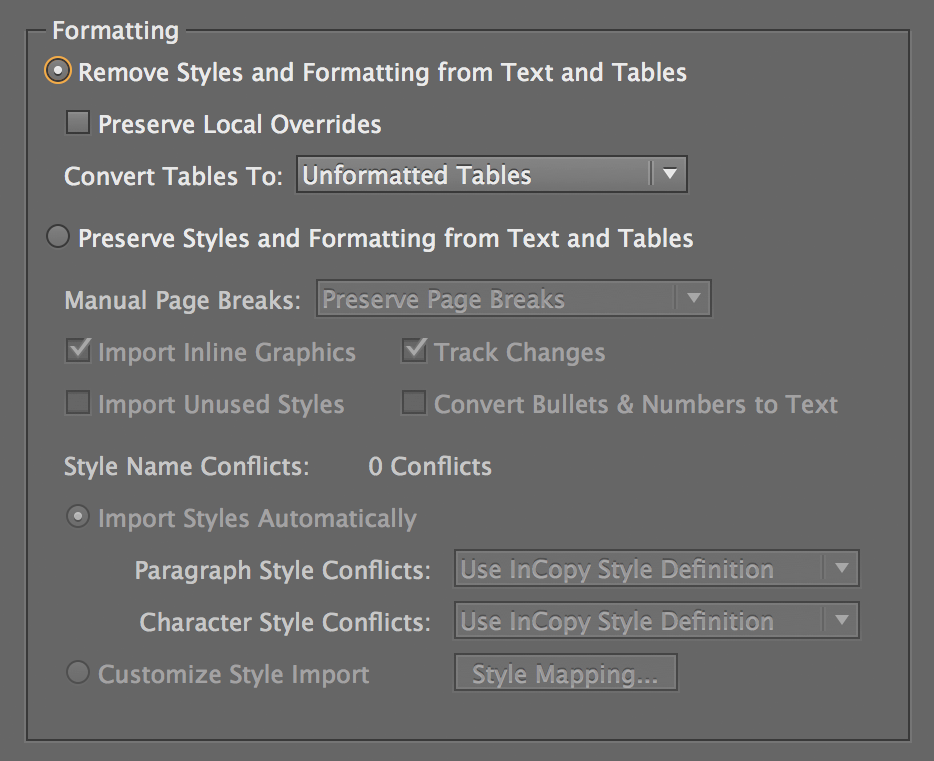
As shown above:
Select Remove Styles and Formatting.
-
Click OK when done.
TIP: You can check on Preserve Local Overrides to maintain formatting such as bolds and italics.
To Maintain the Formatting from Word

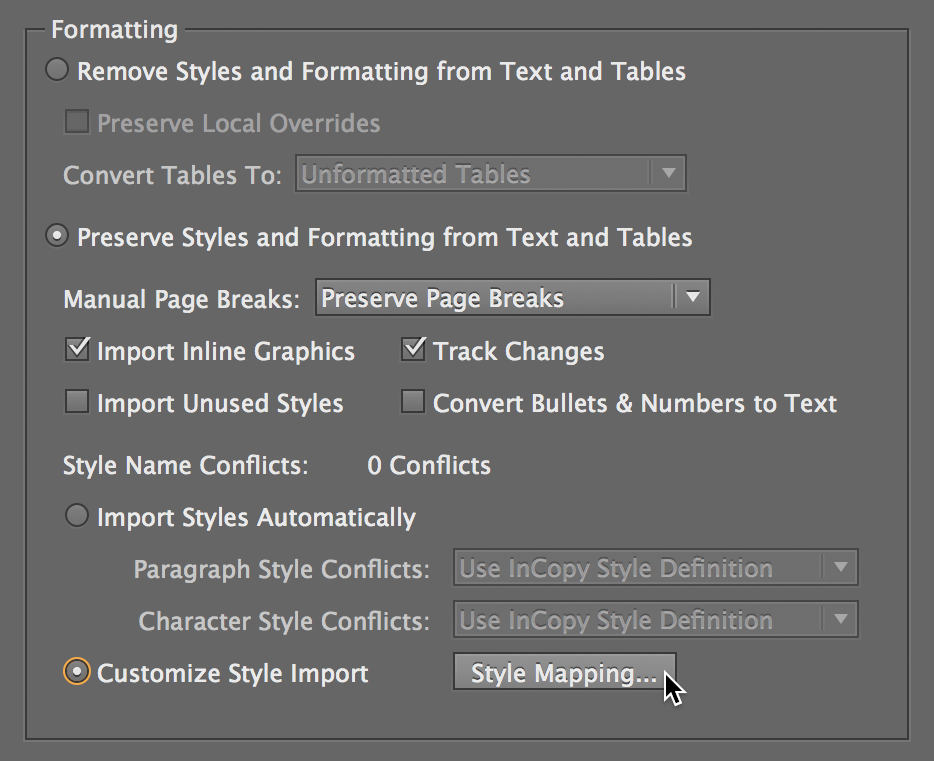
As shown above:
Select Preserve Styles and Formatting.
- If the Word document has styles that you want to convert into InCopy styles, then:
- Select Customize Style Import.
- Click the Style Mapping button.
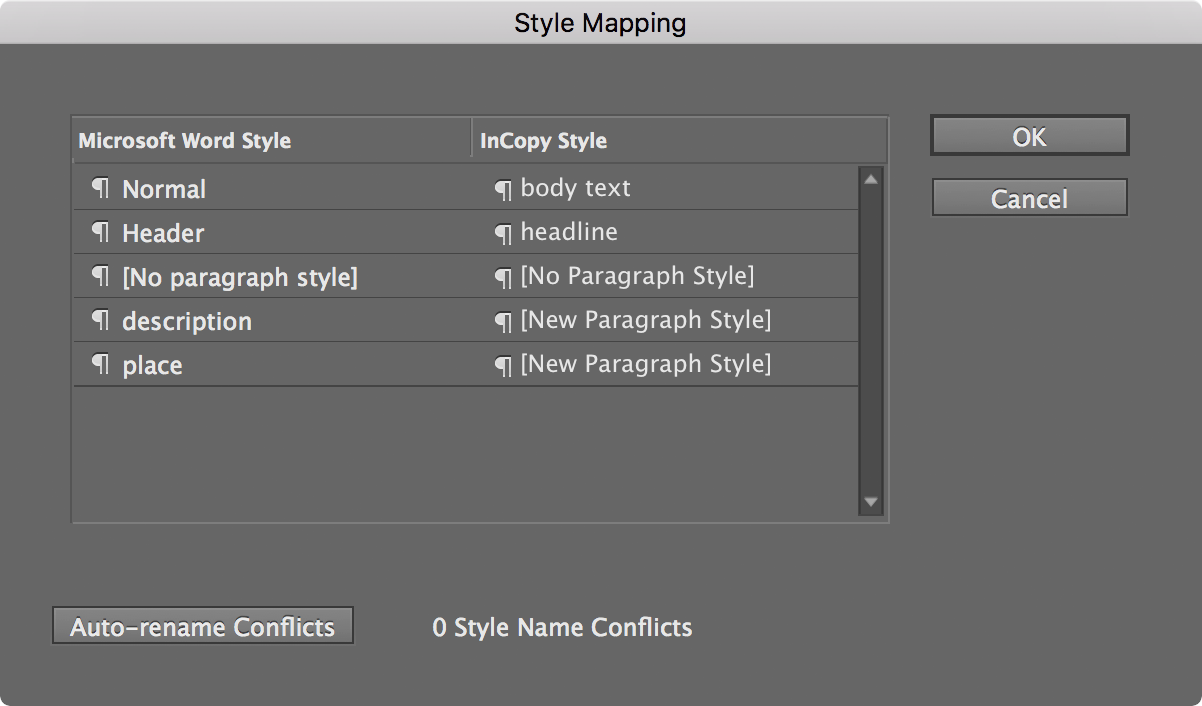
- As shown below, choose the InCopy styles in the right-hand column that correspond to the Word styles in the left-hand column.


