Delve into the world of HTML and CSS with our detailed tutorial covering topics such as the break tag, image tag, source attribute, and how to use width, height, and ALT attributes effectively.
This exercise is excerpted from Noble Desktop’s past front-end web development training materials and is compatible with updates through 2022. To learn current skills in web development, check out our coding bootcamps in NYC and live online.
Topics Covered in This HTML & CSS Tutorial:
The Break Tag, the Image Tag & Source Attribute, Using the Width, Height, & ALT Attributes
Exercise Preview
Exercise Overview
In this exercise, you’ll learn how to add images to a page, and include alternative text for accessibility. You will also learn about two other tags: one for creating line breaks and another for creating the appearance of content division. These three tags have something in common… none of them wrap around content.

- In your code editor, go to File > Open.
- Navigate to Desktop > Class Files > Web Dev Class > News website.
-
Double–click on index.html to open it.
NOTE: index.html is a special filename reserved for the first page (the homepage) of a website. When you go to a.com URL in a browser, the index.html is the first page that will be displayed.
Preview in a browser to get a feeling for the page. TIP: If you’re using Visual Studio Code with the open in browser extension installed, hit Option–B (Mac) or ALT–B (Windows) and your saved HTML document will open in your default browser.
Adding a Line Break
The main heading at the top (which is an h1) is a bit long. A break tag <br> would help to make it more legible.
-
Return to index.html in your code editor. Add a break tag to push Today’s Top National Headlines to the next line:
<body>
   <h1>
      Latest News from The Onion:<br>
      Today's Top National Headlines
   </h1>
Like the doctype and meta tags, the
<br>tag does not have a closing tag because it has no content inside of it. It simply performs its own function. - Save the file.
Return to the browser and reload the page to see the line break in the top heading.
Adding Image Files
Images are inserted into the HTML document with a single tag (they have no end tag). There are two main graphic file formats we’ll use in this book: JPEG and PNG. Please see the Graphic File Formats reference in the front of the workbook for more information on file formats.
- Return to index.html in your code editor.
-
To add an image below the main heading, add the following line of code highlighted in bold. It may not look like a single line in the book, but be sure to enter it on one line in your code editor.
<body> <h1> Latest News from The Onion:<br> Today's Top National Headlines </h1> <img src="images/newsthumb-bill-gates.jpg" height="145" width="190" ALT="Bill Gates, Radiohead Fan"> <h2>Bill Gates Finally Getting Into Radiohead’s <em>Kid A</em></h2> -
Take a moment to review the code you just typed. The
<img>tag requires a src attribute (src is an abbreviation for source) to call the appropriate image file. Images are typically stored in a subfolder of the website, which we’ve named images. There’s nothing special about that name (it could be named img if you want a shorter name), but we do have to know the folder name to link to images inside it.Notice that the code includes a width and a height attribute. Specifying the dimensions of an image can slightly speed up the rendering of the page.
ALT Text
The img tag’s ALT attribute (commonly referred to as ALT text) is important for accessibility and Search Engine Optimization (SEO). It is a brief text description of a graphic that is used by screen readers, search engines, and is displayed if the graphic does not load.
It’s best practice to add ALT text to all graphics. The only time no ALT text is needed is if the graphic is purely decorative. In those rare cases, add an empty ALT attribute (
ALT="") or use CSS techniques so the graphics can be ignored by screen readers. - Save the file.
-
Return to the browser and reload the page to see the image.
NOTE: Image files are not actually embedded into an HTML page. The image tag is a placeholder for the linked source file, so images must be uploaded (along with the HTML pages) to your remote web server in order for visitors to see them.
-
Return to your code editor, and add another image below the previous one by typing the following code shown in bold:
<body>
   <h1>
      Latest News from The Onion:<br>
      Today's Top National Headlines
   </h1>
   <img src="images/newsthumb-bill-gates.jpg" height="145" width="190" ALT="Bill Gates, Radiohead Fan">
   <img src="images/newsthumb-wall-street-bull.jpg" height="145" width="190" ALT="Charging Bull">

   <h2>Bill Gates Finally Getting Into Radiohead’s <em>Kid A</em></h2>
Save the file.
-
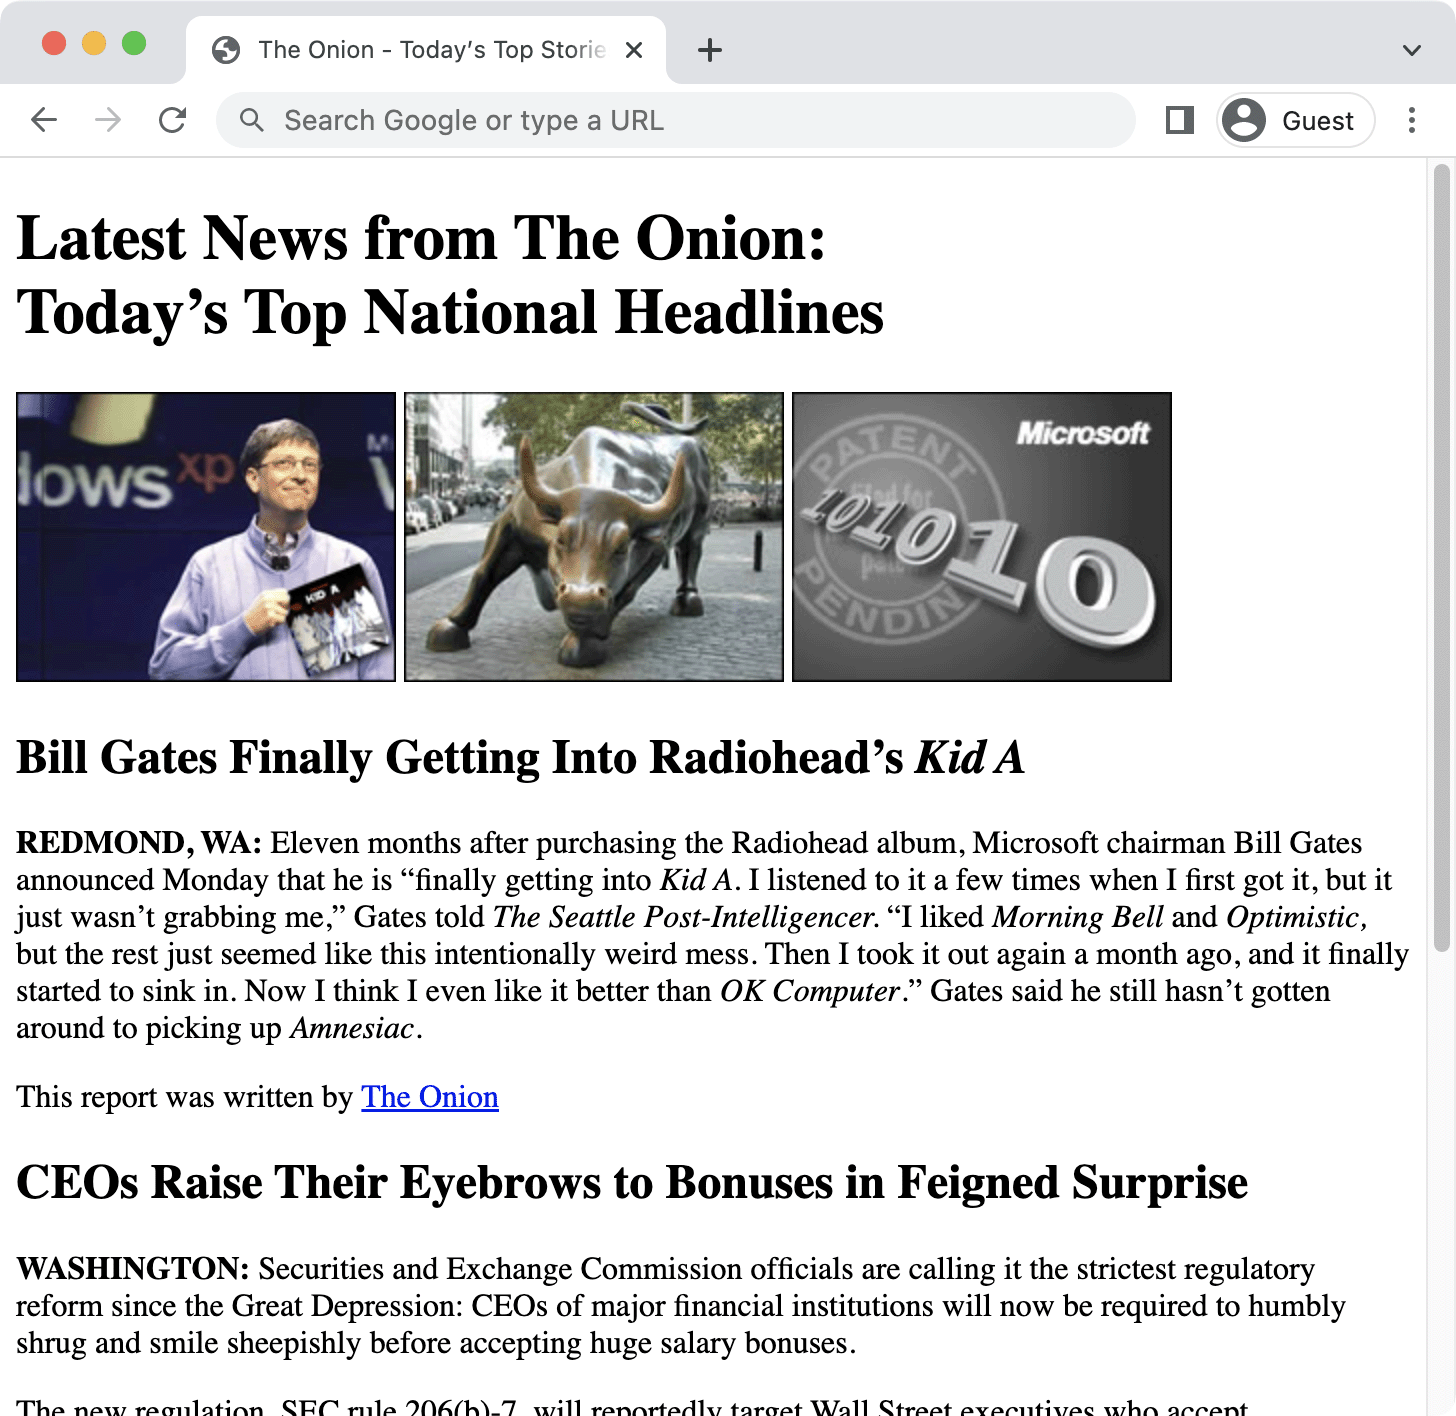
Return to the browser and reload the page to see that the images sit in a line, rather than stacking on top of each other.
Img is an Inline Element
Images, text, and anchor tags are considered inline elements because each one goes next to the other to form a line of content.
If you want to force inline elements (such as images) to stack on top of each other, you can put them in a container that is too narrow for them to fit next to each other. You could also change their CSS display property.
-
Return to the code and add a third image below the second one you just added:
<img src="images/newsthumb-bill-gates.jpg" height="145" width="190" ALT="Bill Gates, Radiohead Fan">
<img src="images/newsthumb-wall-street-bull.jpg" height="145" width="190" ALT="Charging Bull">
<img src="images/newsthumb-patent.jpg" height="145" width="190" ALT="Microsoft Patent Illustration">

<h2>Bill Gates Finally Getting Into Radiohead’s <em>Kid A</em></h2>
Save the file, return to the browser, and reload the page to preview the new image.
You can leave the file open in the browser and the code editor so you can use it in the next exercise.
