A UserForm in Excel is a form a user fills in and the information is stored or used by the program. It involves a little bit of VBA coding (to be covered in more detail in a future article) which we will show here.
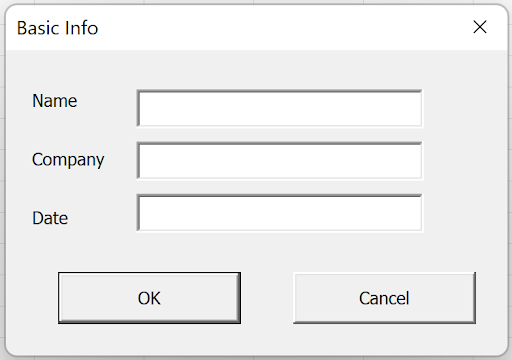
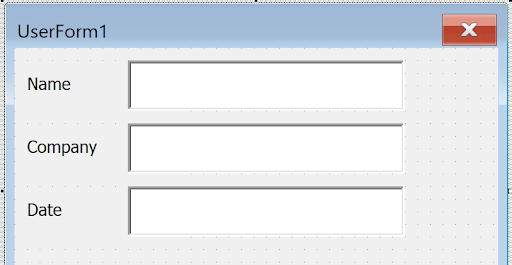
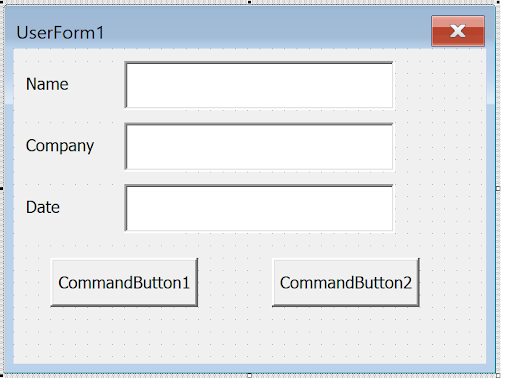
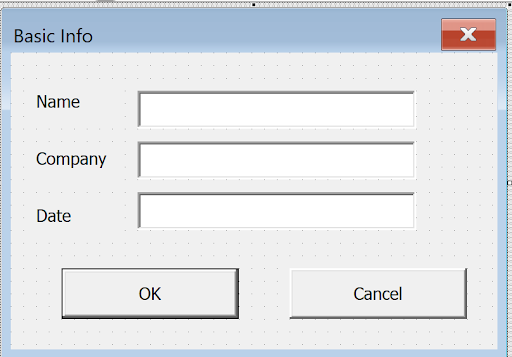
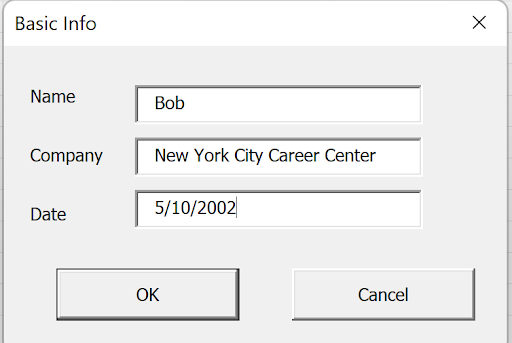
Let’s start with a pretty simple form – we’ll show how to create it, how to display it, and how to store the values. Here’s our desired form:
OK, step by step:
You need to access the VBA Editor. Press Alt/F11. You will see something like this:
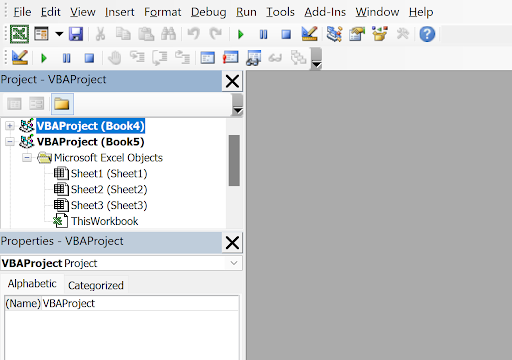
(The grey area is where you will design the form, or where VBA code is written).

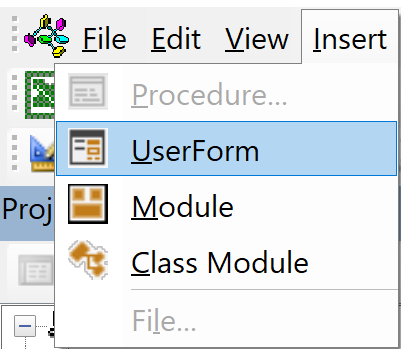
Use Insert/Userform:
you will see this:
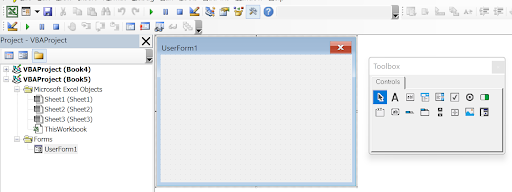
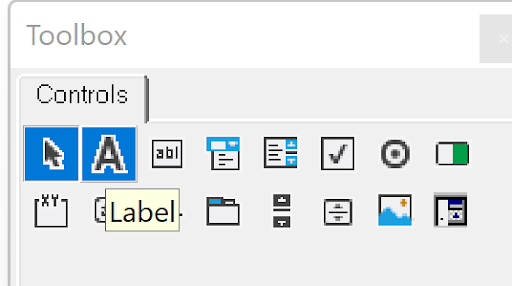
(The “Toolbox” form on the right may look slightly different. Each item on the Toolbox can be used to “draw” the form onto the “Userform1” shown in the middle. Below the Userform1 on the left side, you will see the Properties window, which changes according to what was selected in the form. A few are shown here:
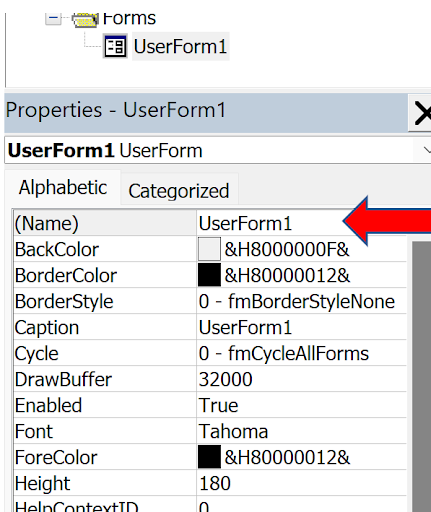
This is what you see when the Userform itself is selected. Note the first item, “(Name)”, which is Userform1.
Add a label, “Name” by clicking on the A in the Toolbox:
Draw a rectangle that will hold the word “Name”:
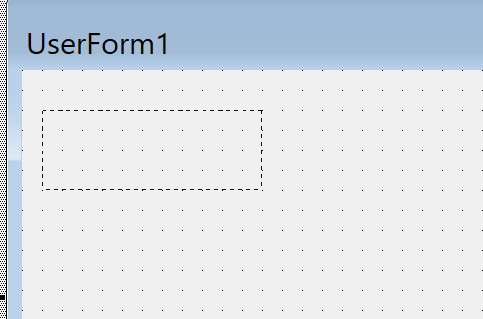
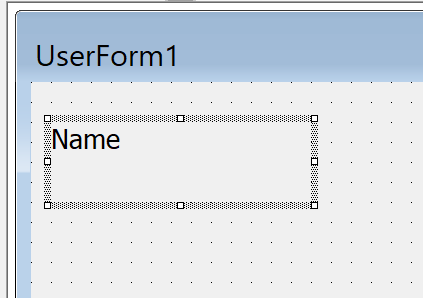
When you let go of the mouse, you’ll see this:
While this is still selected, the properties shows this:
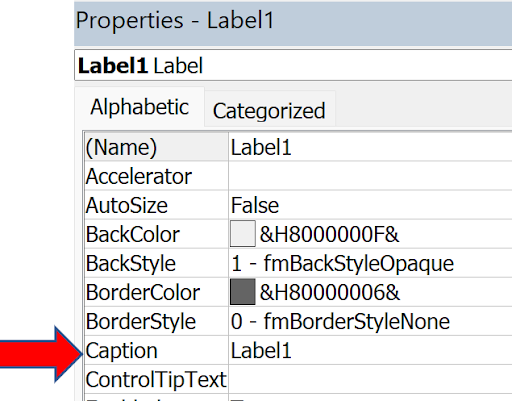
Click on the word “Caption” in the list, and type “Name” (without the quotes).
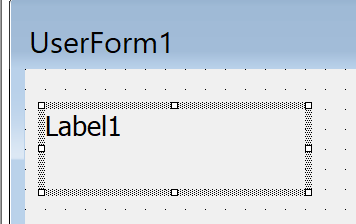
Now the properties shows
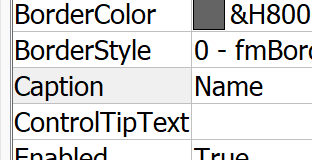
, and the userform looks like this:
Repeat this process twice more so the userform looks like this:
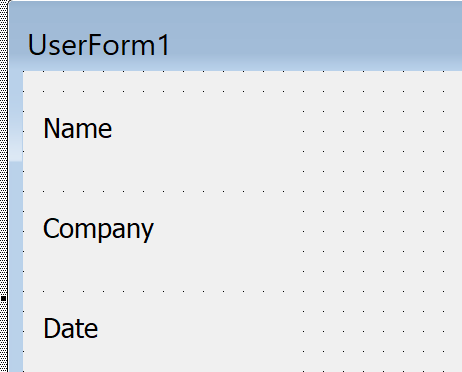
Don’t worry if they’re not aligned exactly as you want – we’ll adjust that later in the article!
Time to put in the fields that will contain these values. These are called Textboxes (which are also used for numeric entries, not just text):
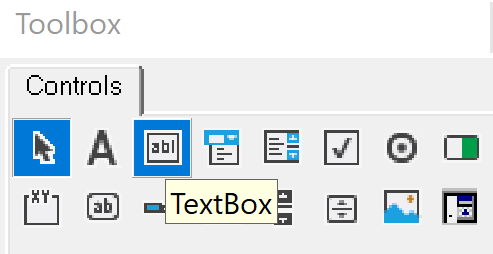
Using the same technique as we did to form labels, make 3 textboxes so it looks like this:
Each field is given a name in the properties – if I click the Name textbox, the properties shows this:
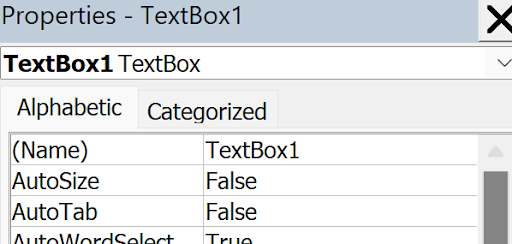
Its name is “Textbox1”. Since the VBA code will be referring to this so we can put the results somewhere, it would be better to give it a more meaningful name. click “(Name)” and type TbName:

Do the same with the other textboxes – call them TbCo, and TbDate.
Now we need some buttons to either enter the data or cancel out of the form without doing anything. This time, we need to put in 2 “Command” Buttons – they look like ab:
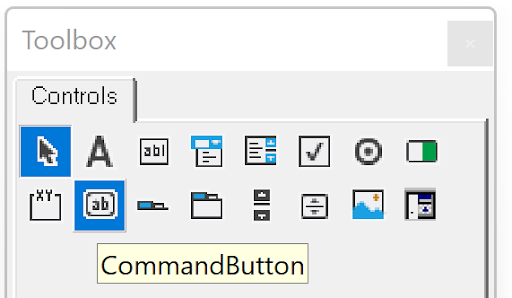
Draw 2 of them:
By the way, you might have notices that if you just click on the userform with a control from the Toolbox, it will draw a ‘default” size control. Buttons are usually a good size, as above.
Click the left one and Give it the caption of “OK”, and also give it the property of “Default” being True instead of False – you can do this by simply double-clicking the word “Default”, or you can click once then use the dropdown arrow on the word False to see the choices (True, False):
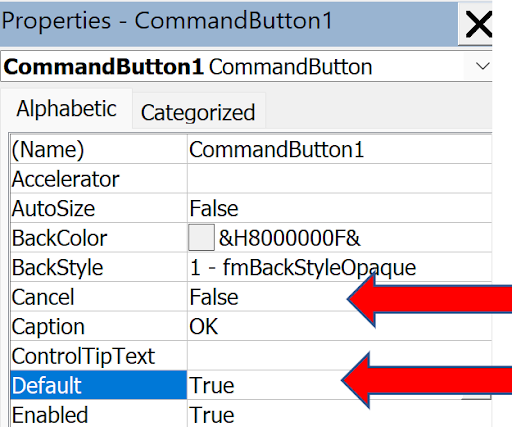
Default of true means that if the user simply hits the Enter key instead of clicking the button, it has the same effect as clicking the button.
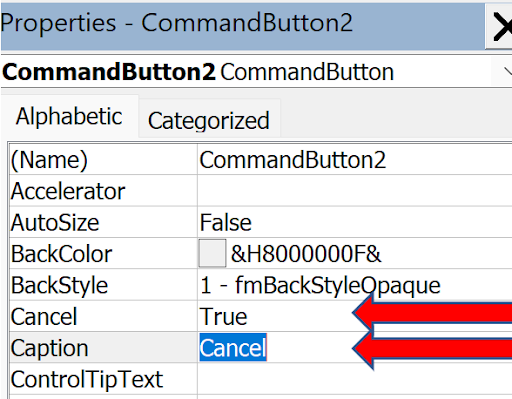
Click the right one and give it the caption of “Cancel”, and the property of Cancel being True. This means if the user hits the esc key, it has the same effect as clicking the Cancel button:
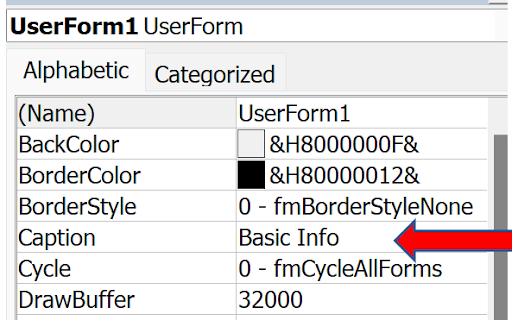
Change the Userform title itself from Userform1 to Basic Info – you need to click anywhere on the userform that’s not also another control:
Now, your form should look like this:
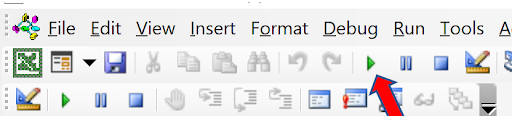
To test this form, press the F5 key, or the right-facing arrow in the toolbars at the top:
You will see your form displayed on top of Excel, not VBA. Something like this, after filling in the fields:

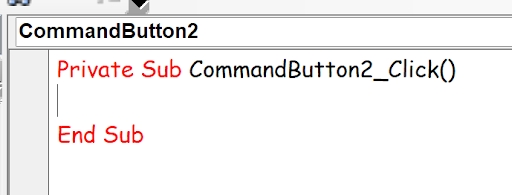
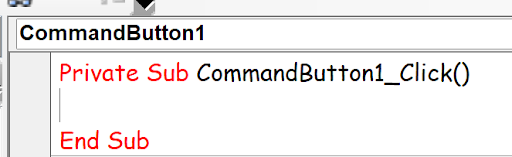
Time to make the buttons do something. Now they do nothing! To get out of this display, click the “x” in the upper right corner. The easier one to write VBA code for is the Cancel button. What we want when we click that button is for the form to close. Nothing else. Double-click the Cancel button, and you’ll see this:
Your font size and name and colors may be different, but the rest should be the same. Whatever code is written between these two lines is what gets executed when the Cancel button is clicked. In order to simply close the form, you just need Unload Me:

“Me” is the code word for the form itself. Unload UserForm1 would also work, but when you may have many userforms in an application, “Me” is just easier to work with. Now, when you display the form, clicking Cancel will close the form.
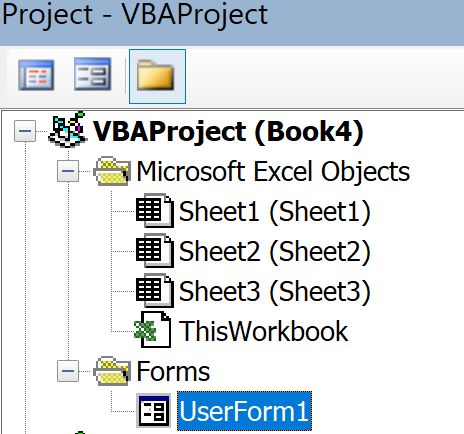
To get back to the form from the VBA code, simply double-click the Userform in the VBAProject window:
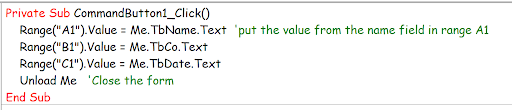
Let’s look at the OK button. That’s a lot more involved. To keep it simple, for this article, let’s put the data from the form into cells A1, B1, and C1. Note the end of the code also contains Unload Me, because we’re done with the form. Double click the OK button and you’ll see:
Enter this code (first and last lines entered by Excel)– Any comments begin with an apostrophe:
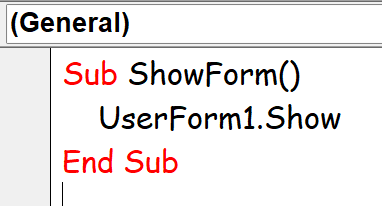
Let’s hook up the userform with a button or s shape in excel. Let’s first write the code in VBA which will display the form. You need to insert a Module – non-Userform code is written in modules:

Then you’ll see this:

Make up a name, like ShowForm, or DisplayIt, or even XYZ (I’ll use ShowForm – makes no difference):
That’s all there is to it, from the VBA side.
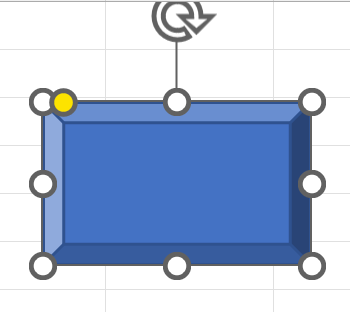
Back to Excel, draw any shape – I’m going to use a Bevel. On the Insert tab, Illustrations, Shapes (yours may look a little different):
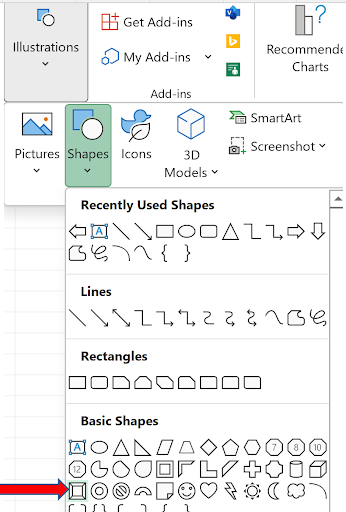
Draw it into the Excel worksheet:
Right-click, select Assign Macro:
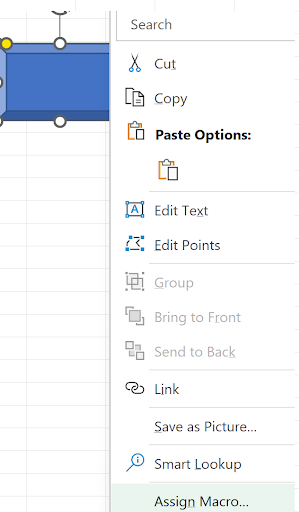
which shows:
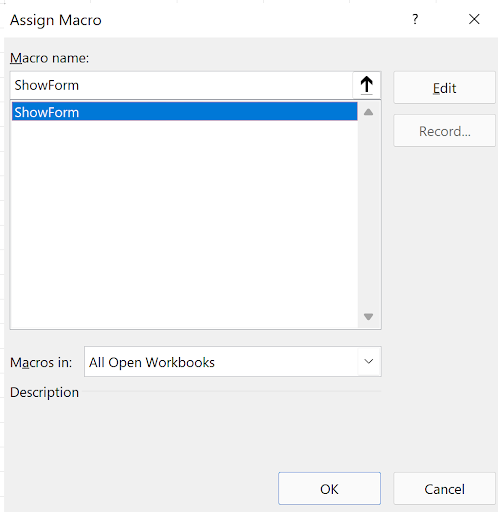
Click ShowForm, then Click OK
Click the button:
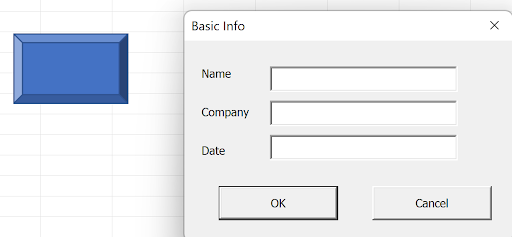
Fill out the form and click OK:
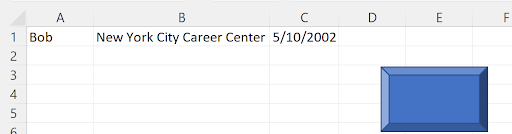
After widening the columns, we see this:
Here’s a bonus tip. Change the code to this (includes adjusting the column widths):
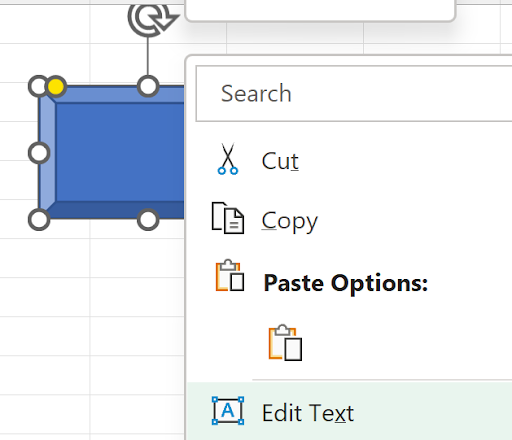
Lastly, you can right click the shape again and assign some text to it, like this:
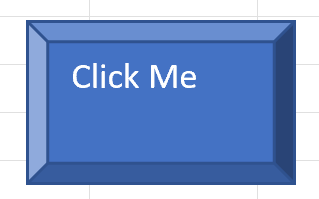
.JPG)