Learn to work with green screen footage, utilize chroma keying, and composite video in this comprehensive After Effects tutorial.
This exercise is excerpted from Noble Desktop’s Adobe After Effects training materials and is compatible with After Effects updates through 2023. To learn current skills in After Effects with hands-on training, check out our After Effects Bootcamp, Motion Graphics Certificate, and motion graphics design classes in-person and live online.
Topics Covered in This After Effects Tutorial:
Working with Green Screen Footage, Chroma Keying, Compositing Video
Exercise Preview

Exercise Overview
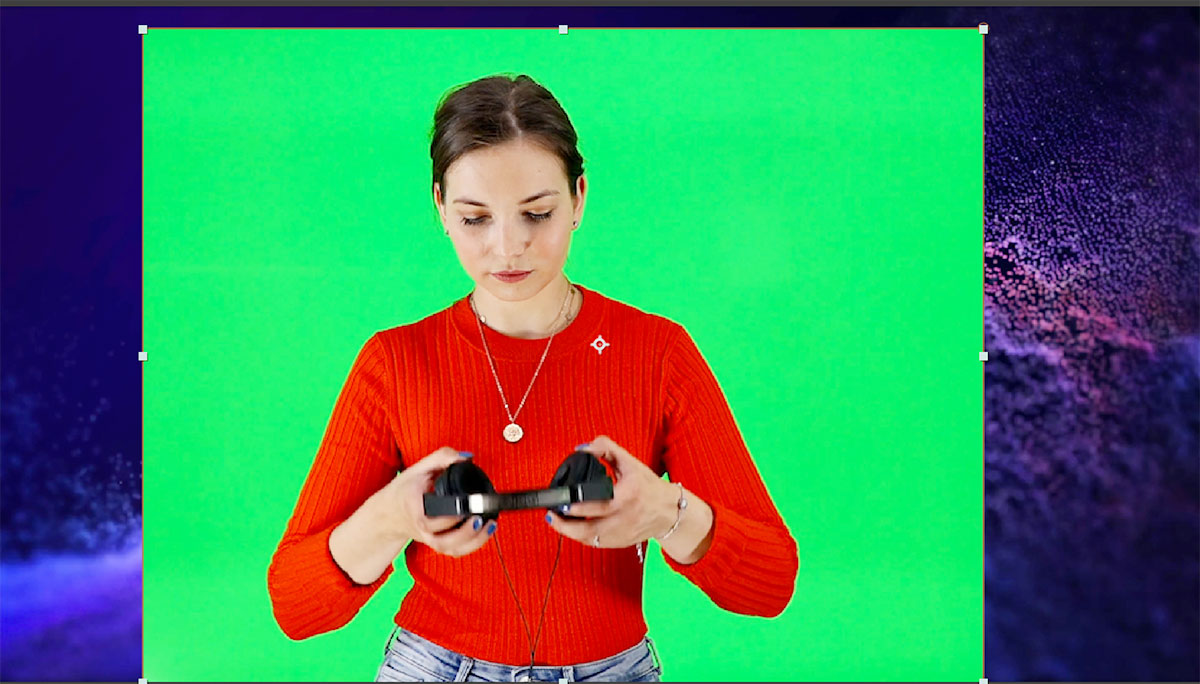
In this exercise you’ll work with video shot in front of a green screen. We will “key out” the screen and replace it with a new background.

Previewing the Final Video
- Let’s see a preview of what you’ll be making. If you’re in After Effects, keep it open but switch to your Desktop.
- On the Desktop, navigate to Class Files > After Effects Class > Green Screen Removal > Preview Movie and double–click Putting on Headphones.mp4.
- Notice that the woman is in front of an interesting background. She was not captured on this background, we put her onto it by removing the background from her video.
- Replay the video if you need to, and close it when done.
Setting up the Workspace
In After Effects, go to Window > Workspace > Standard.
Choose Window > Workspace > Reset “Standard” to Saved Layout.
-
If the After Effects window does not fill the screen, maximize it:
Mac: At the top left of the window, click the green button (the third button). Windows: At to the top right of the window, click the Maximize button (the middle button).
Getting Started
In After Effects, if you have a project open, choose File > Save.
-
Choose File > Open Project and:
- Navigate to Desktop > Class Files > After Effects Class > Green Screen Removal.
- Double–click on Green Screen Removal—Started.aep to open it.
-
Choose File > Save As > Save As and:
- Name the file Your Name—Green Screen Removal.aep and
- Save it into Desktop > Class Files > After Effects Class > Green Screen Removal.
Creating Compositions from Footage
When working with video footage, it is often helpful to create your composition to match the settings (dimensions, length, framerate, etc.) of the video file.
-
In the Project panel, expand the 01—Video folder.
- Double–click Putting on Headphones.mp4 to open it in the Footage panel.
-
At the bottom left of the Footage panel, click on the Preview Time button
 .
.- Type in 15 and hit OK.
-
At the bottom of the Footage panel (below the time ruler), click the Set In Point button
 .
.This trims the clip’s In Point to the playhead. When this clip is used in After Effects, only the active area will be visible on the timeline.
-
Again click the Preview Time button
(at the bottom of the Footage panel).- Type in 1414 and hit OK.
-
Click the Set Out Point
 (also located below the Footage panel’s time ruler).
We now have a 14 second video clip.
Close the Footage panel by clicking the X to the left of the tab.
-
In the Project panel, CTRL–click (Mac) or Right–click (Windows) on the Putting on Headphones.mp4 file and choose New Comp from Selection.
This command creates a new composition that matches the settings, including length of the video file.
Drag the new comp Putting on Headphones out of the 01—Video folder.
-
In the Timeline, select the Putting on Headphones.mp4 layer.
- Hit Return (Mac) or Enter (Windows) and rename the layer talent—green screen.
- Hit Return (Mac) or Enter (Windows) again to finalize it.
From the Project panel, drag the simulation.mp4 into the timeline below the talent—green screen layer.
Using Keylight for Chroma Keying
Keylight is a third–party chroma keying effect included with After Effects. In can be used as a stand–alone effect or in combination with other effects to “key out” colors in video.
Move the playhead to the beginning of the timeline.
Select the talent—green screen layer.
In the Tools panel, choose the Rectangle tool
 .
.-
Draw a rectangular mask around the model, you want to make sure to leave enough room around her to not crop out part of her body.
In the Tools panel, choose the Selection tool
 (or hit the V key to choose it).
-
Scrub the playhead back and forth to check that the model never moves outside the edge of your mask. If she does:
- Double–click on one of the vertices (anchor points) to activate free transform.
- Scale that rectangle to the desired size.
- Hit Return (Mac) or Enter (Windows) to apply the change.
This “garbage” matte means we only need to worry about the green inside the mask.
- If you don’t see the Effects & Presets panel on the right of the window, choose Window > Effects & Presets.
- In the Effects & Presets panel’s search field type keylight
-
Double–click on the Keylight + Key Cleaner + Advanced Spill Suppressor preset (in Presets > Image—Utilities) to apply it to the selected layer.
NOTE: You’d have to enlarge the width of the panel to see the entire name but it should be the only one listed under Presets > Image—Utilities.
-
In the Effect Controls panel (at the top left of the window):
- Locate the Key Cleaner effect.
- Change the Additional Edge Radius property to 0. This eliminates the feature that was being applied to the edge of the mask.
-
In the Keylight (1.2) effect, to the right of Screen Colour click the eyedropper
 .
.- Hold Cmd (Mac) or CTRL (Windows) and click on the green area at the side of the models face to pick the color to remove.
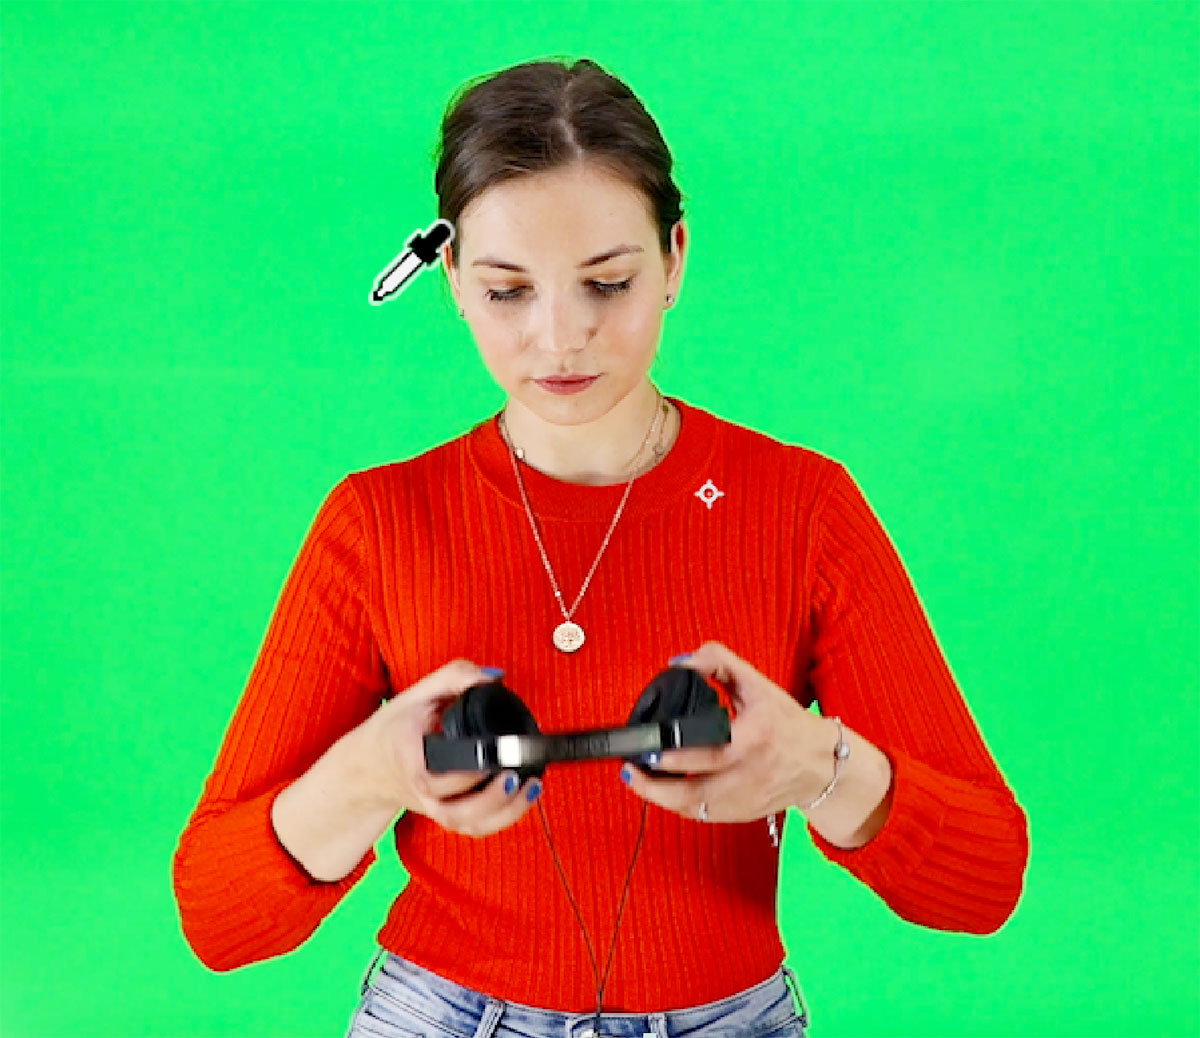
NOTE: If you want to use the same color we did, click on the color box next to Screen Colour and change the hex to #2AEA55
-
In the Effect Controls panel, near the top of the Keylight (1.2) effect, change the View menu from intermediate Result to Screen Matte.
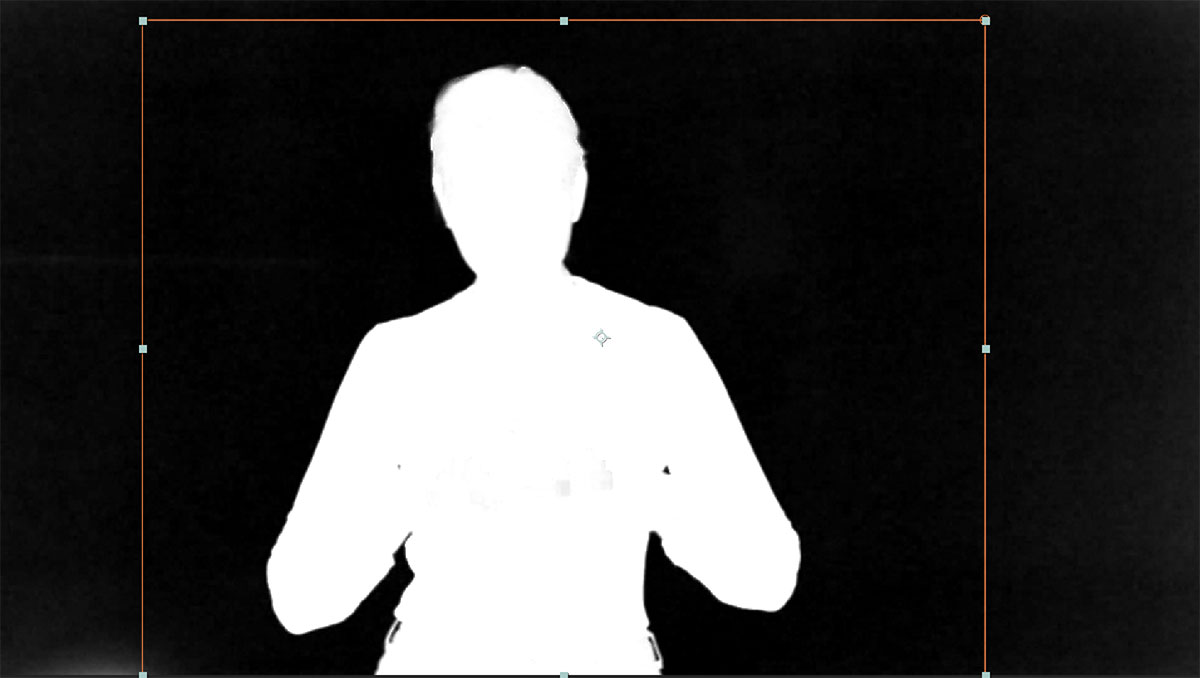
NOTE: The Screen Matte preview shows you the actual black and white matte that the effect is generating. White areas are opaque, while black areas are transparent.
-
Change the Screen Gain to 115.
Screen Gain controls the tolerance of the range of color being removed by the screen color property.
That improved the key. Significantly more of the green is now black, but there are some light gray areas inside the model’s body.
Click the arrow next to Screen Matte.
-
Hold Cmd (Mac) or CTRL (Windows) and scrub (drag) the Clip White value to the left until the light gray areas vanish.
We used a value of 89
Change the View menu back to Intermediate Result. You can still see a slight green fringe, especially around the hair.
-
Hold Cmd (Mac) or CTRL (Windows) and scrub (drag) the Screen Shrink/Grow value to the left until the fringe is removed.
We used a value of -2
-
Change the Screen Softness property to .5
This feathers the edge of the matte, helping it blend in more.
-
Find the Key Cleaner effect (lower down in the Effect Controls panel).
- Check on Reduce Chatter (this reduces rough edges).
-
To the left of the Advanced Spill Suppressor effect, click on the empty box to make fx appear (which enables the effect).
This removes any unwanted green edge (called spill) from the edge of the matte.
-
Use the Spacebar to preview the animation.
While it’s not perfect (parts of the headphones go missing sometimes and some edges can be a little too close or blurry), this is good enough quality to post on social media which will typically lower the resolution and video quality making those minor quality issues harder or impossible to notice.
Keep in mind that no two green screen removals are the same. There are no magic settings you should always use, and some videos will be easier or harder to key out the background.
Choose File > Save or hit Cmd–S (Mac) or CTRL–S (Windows).
You’re done, so choose File > Close Project.