Delve into the world of After Effects with this comprehensive tutorial, exploring topics such as the 3D Camera Tracker Effect, Match Moving, and working with layers in 3D, while also offering practical exercises.
This exercise is excerpted from Noble Desktop’s Adobe After Effects training materials and is compatible with After Effects updates through 2023. To learn current skills in After Effects with hands-on training, check out our After Effects Bootcamp, Motion Graphics Certificate, and video editing classes in-person and live online.
Topics covered in this After Effects tutorial:
3D Camera Tracker Effect, What is Match Moving?, Working with Layers in 3D
Exercise Preview
Exercise Overview
In this exercise you’ll use the After Effects 3D Camera tracker to perform match moving and add graphics into a video scene.

Previewing the Final Video
- Let’s see a preview of what you’ll be making. If you’re in After Effects, keep it open but switch to your Desktop.
-
On the Desktop, navigate to Class Files > After Effects Advanced Class> 3D Camera Tracking > Preview Movie and double–click Flying Over Donuts.mp4.
You can also preview: Still LIfe on table - Floating Text.mp4, Still LIfe on table - Logo on Table.mp4, and Still LIfe on Table - Targets.mp4
You can also preview: Still LIfe on Table - Targets.mp4, Still LIfe on table - Logo on Table.mp4 and Still LIfe on table - Floating Text.mp4 -
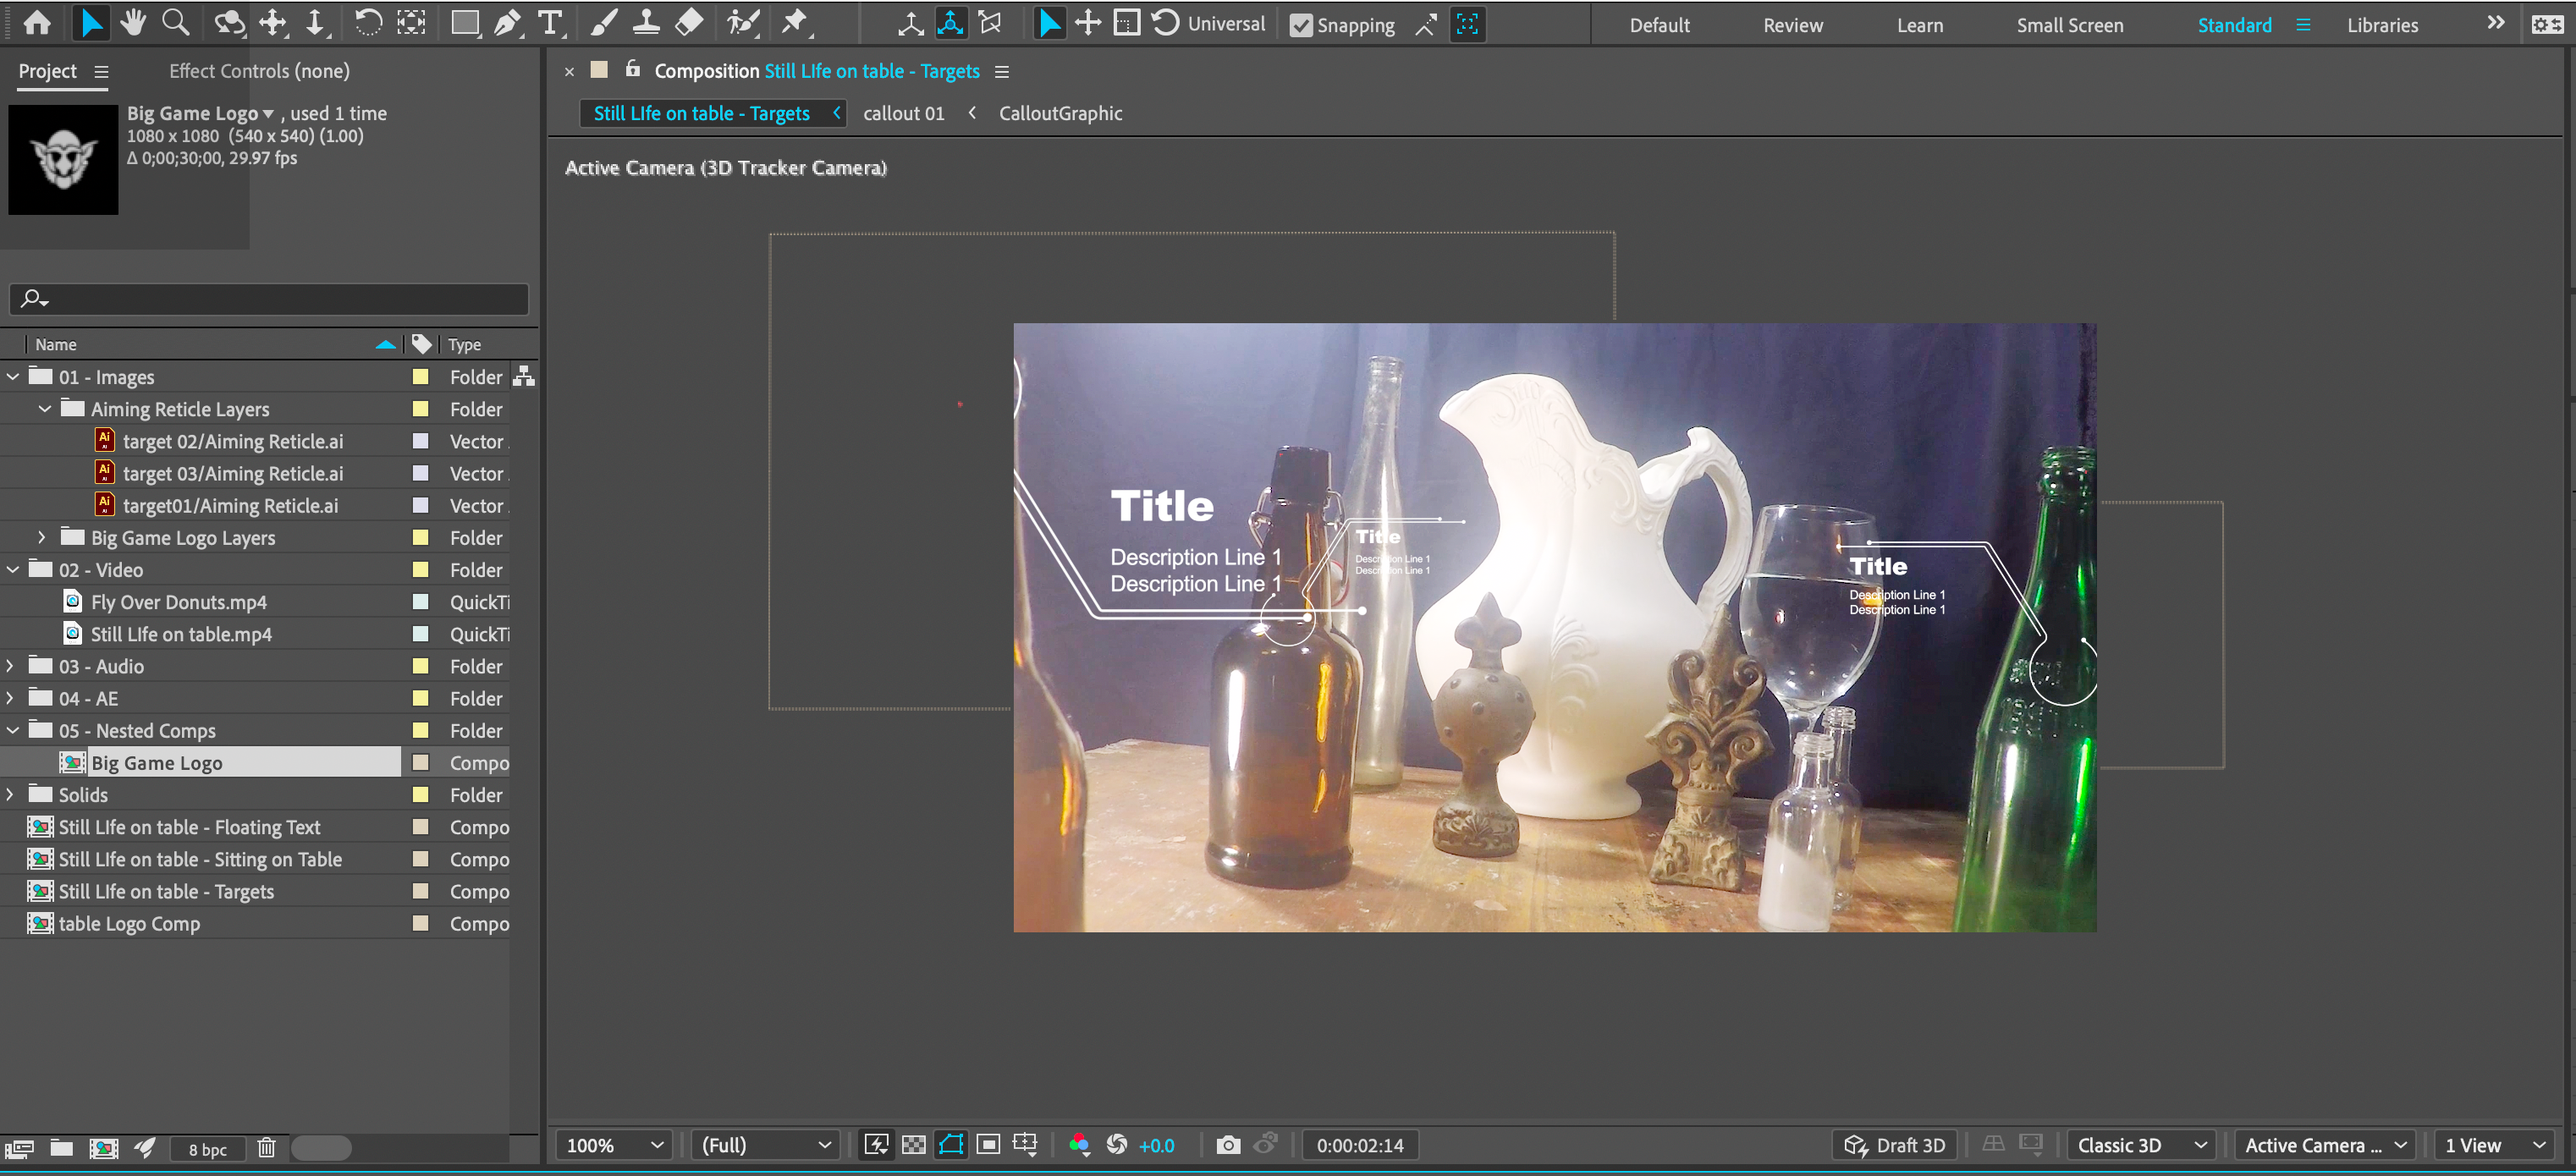
Notice the following:
- There are graphics placed into a video.
- The graphics seem to be sticky, matching the movement of the content in the video.
Replay the video if you need to, and close it when done.
Setting Up the Workspace
In After Effects, go to Window > Workspace > Standard.
Choose Window > Workspace > Reset “Standard” to Saved Layout.
-
If the After Effects window does not fill the screen, maximize it:
Mac: At the top left of the window, click the green button (the third button). Windows: At to the top right of the window, click the Maximize button (the middle button).
Getting Started
In After Effects, if you have a project open, choose File > Save.
-
Choose File > Open Project and:
- Navigate to Desktop > Class Files > After Effects Advanced Class > 3D Camera Tracking.
- Double–click on Camera Tracking - Started.aep to open it.
-
Choose File > Save As > Save As and:
- Name the file Your Name - Camera Tracking.aep and
- Save it into Desktop > Class Files > After Effects Advanced Class> 3D Camera Tracking.
Applying the 3D Camera Tracker Effect
The 3D camera tracker effect will attempt to analyze the content of a video layer. Unlike with motion tracking, camera tracking isn’t meant to tell you how specific elements in a video move. Instead it is intended to deconstruct how the camera that shot the video moved. This allows you to then add graphics into your composition that match the movement of the content in the video.
-
Choose video you want to track and create a composition from it by doing one of the following:
Ctrl–click (Mac) or Right–click (Windows) on the video in your Project panel and choosing New Comp from Selection from the menu.
Drag the video onto the Create a New Composition
 located at the bottom of the Project panel.
Drag the video into the empty timeline panel.
-
Click on the layer you want to track and add the 3D Camera Tracker effect. YOu can add the effect in a couple of different ways.
Choose Effect > Perspective > 3D Camera tracker from the menu at the top of the application.
Ctrl–click (Mac) or Right–click (Windows) on the layer and choose Track & Stabilize > Track Camera from the menu.
In the Effects & Presets panel
-
Once the effect finishes running its two step process (Analyze and then Solve) you will see a series of colorful tick marks called Track Points in the Comp panel.
NOTE: The track points are only visible when the layer and effect are both selected.
-
In the Effect Controls panel click the Create Camera button located at the bottom of the effect.
NOTE: The created camera is not the same as creating a new camera from the layer menu. This camera has keyframes for position and orientation that are taken from the effects tracking data.
At the bottom of the Composition panel, confirm that the 3D Renderer menu is set to Classic 3D.
-
If you want to check the camera movement use the Select view layout button at the bottom right of the Composition panel to choose one of the multiple view options.
- Change one of the views to Top and press scrub (drag) the playhead in the timeline to view the camera movement.
Change the Select view layout back to 1 View.
Save your file.
Adding 3d Layers to Match the Movement
Once you have a 3D tracked camera in your composition any 3D layer will now seem to match the movement of the
Drag a layer in to your composition or create a new text or shape layer using their respective tools. Any visual layer can be made into a 3D layer so you can even use imported image and video files.
Click on the layer’s 3D Layer
 switch.
-
Adjust the transform (position, rotation, scale) your new 3D layer relative to the camera. You’ll probably need to switch to either the 2–Views or 4–Views option in the Comp panel.
NOTE: If you are using a text, shape or comp layer in this scenario you can still animate it even though you enable its 3D properties.
Save your Project.
Setting 3D Layers at Track Points
While any layers with its 3D switch enabled will now match the movement of the video sometimes you want to position a layer to match the positioning of a specific element in your scene. A new text, solid or null object layer can be created at the position of any 3D tracked point.
You may ask yourself why are there three choices? Null object layers are good when you want to store the track points coordinates (x, y, and z position) to transfer them to another 3d layer in your scene. Shape layers are good if you plan to use them to create a nested comp layer that you plan to animate or add content to later. Text layers are good for placing text at specific points relative to the camera.
In the instructions below we are creating a null object layer.
In the Timeline, select the layer that you applied the 3D Camera Tracker effect to.
In the Effect Controls panel, click on the 3D Camera Tracker effect to select it and reveal the track point.
-
Ctrl–click (Mac) or Right–click (Windows) on the track point where you want to place the new layer and choose Create Null.
NOTE: If you are going to create more than one null we suggest you rename each layer a descriptive name so you can remember which is which.
Add the graphic layer you want to use to your composition.
-
If the graphic you are using isn’t already a composition:
Pre–comp the new graphic layer by choosing Cmd–Shift–C (Mac) or Ctrl–Shift–C (Windows).
Give the pre–comp a descriptive name, make sure the Leave all attributes… radio button is enabled and click OK to finalize creating the pre–comp.
If necessary,adjust the new pre–comp’s anchor point so that it is placed where you want the layer to line up with the null object.
-
Hold down the Shift key on your keyboard and set the null object layer as the parent for the graphic layer.
NOTE: Holding down the Shift key when you assign a parent assigns the parents transform properties to the children layers.
Adjust the scale of your graphic layer to fit the composition. layers that are closer to the camera will appear larger while layers that are further away will appear smaller.
Repeat this procedure as many times as you like to place multiple layers at different track points.
Save your project.
Aligning 3D Layers to a Flat Surface
In addition to being able to position layers to match the position of a 3D track point you can align a 3D layer to any flat surface by selecting a least 3 track points on the same plane.
In the Timeline, select the layer that you applied the 3D Camera Tracker effect to.
In the Effect Controls panel, click on the 3D Camera Tracker effect to select it and reveal the track point.
-
Select three or more points on the same flat surface by holding down the Shift key while you click on them.
NOTE: Be careful here, the target will adjust as you select more points you’ll want to make sure it stays aligned to the surface you are attempting to align to.
Ctrl–click (Mac) or Right–click (Windows) on one of the track points or the highlighted area between them and choose Create Solid.
Rename the new solid layer to something descriptive.
You can adjust the dimensions of the solid by selecting it and choosing Layer > Solid Settings. It is easiest to have the dimensions of the solid match the graphic you are going to place on the surface.
-
Pre–comp the new solid layer by choosing Cmd–Shift–C (Mac) or Ctrl–Shift–C (Windows).
- Give the pre–comp a descriptive name, make sure the Leave all attributes… radio button is enabled and click OK to finalize creating the pre–comp.
Double–click the new comp layer to open it.
Turn off the visibility or delete the solid layer and add your graphic to the comp.
Return to main comp and adjust the transform properties (position, scale, rotation) as necessary.
Reveal the layer transfer modes (blending modes) by clicking the Toggle Switches/Modes button at the bottom of the timeline panel of press F4 on your keyboard.
Adjust the transfer mode and opacity to make the graphic blend in with the color and tones of the surface. You could also use a color correction effect to match the tones if you prefer.
Save your project.