Learn how to create a complex HTML email layout using nested tables with this comprehensive tutorial, which includes a step-by-step guide on creating an eNewsletter-style email.
This exercise is excerpted from Noble Desktop’s HTML Email training materials and is compatible with updates through 2021. To continue learning HTML Email with hands-on training, check out our coding bootcamps in NYC and live online.
Topics Covered in This HTML Email Tutorial:
Nesting Tables for a More Complex Layout, Non-centered Columns
Exercise Preview
Exercise Overview
This is the first in a series of exercises where you’ll create an eNewsletter style email. A more complex layout of this sort is best constructed using “nested” tables. Nesting (a method of placing tables inside one another) is required for consistent spacing and structure across email clients. This first exercise walks you through the process of nesting tables. The modular structure we’ll use here will not only work well across email clients, it will serve as an excellent template for an editable weekly newsletter.

Previewing the Finished Design
-
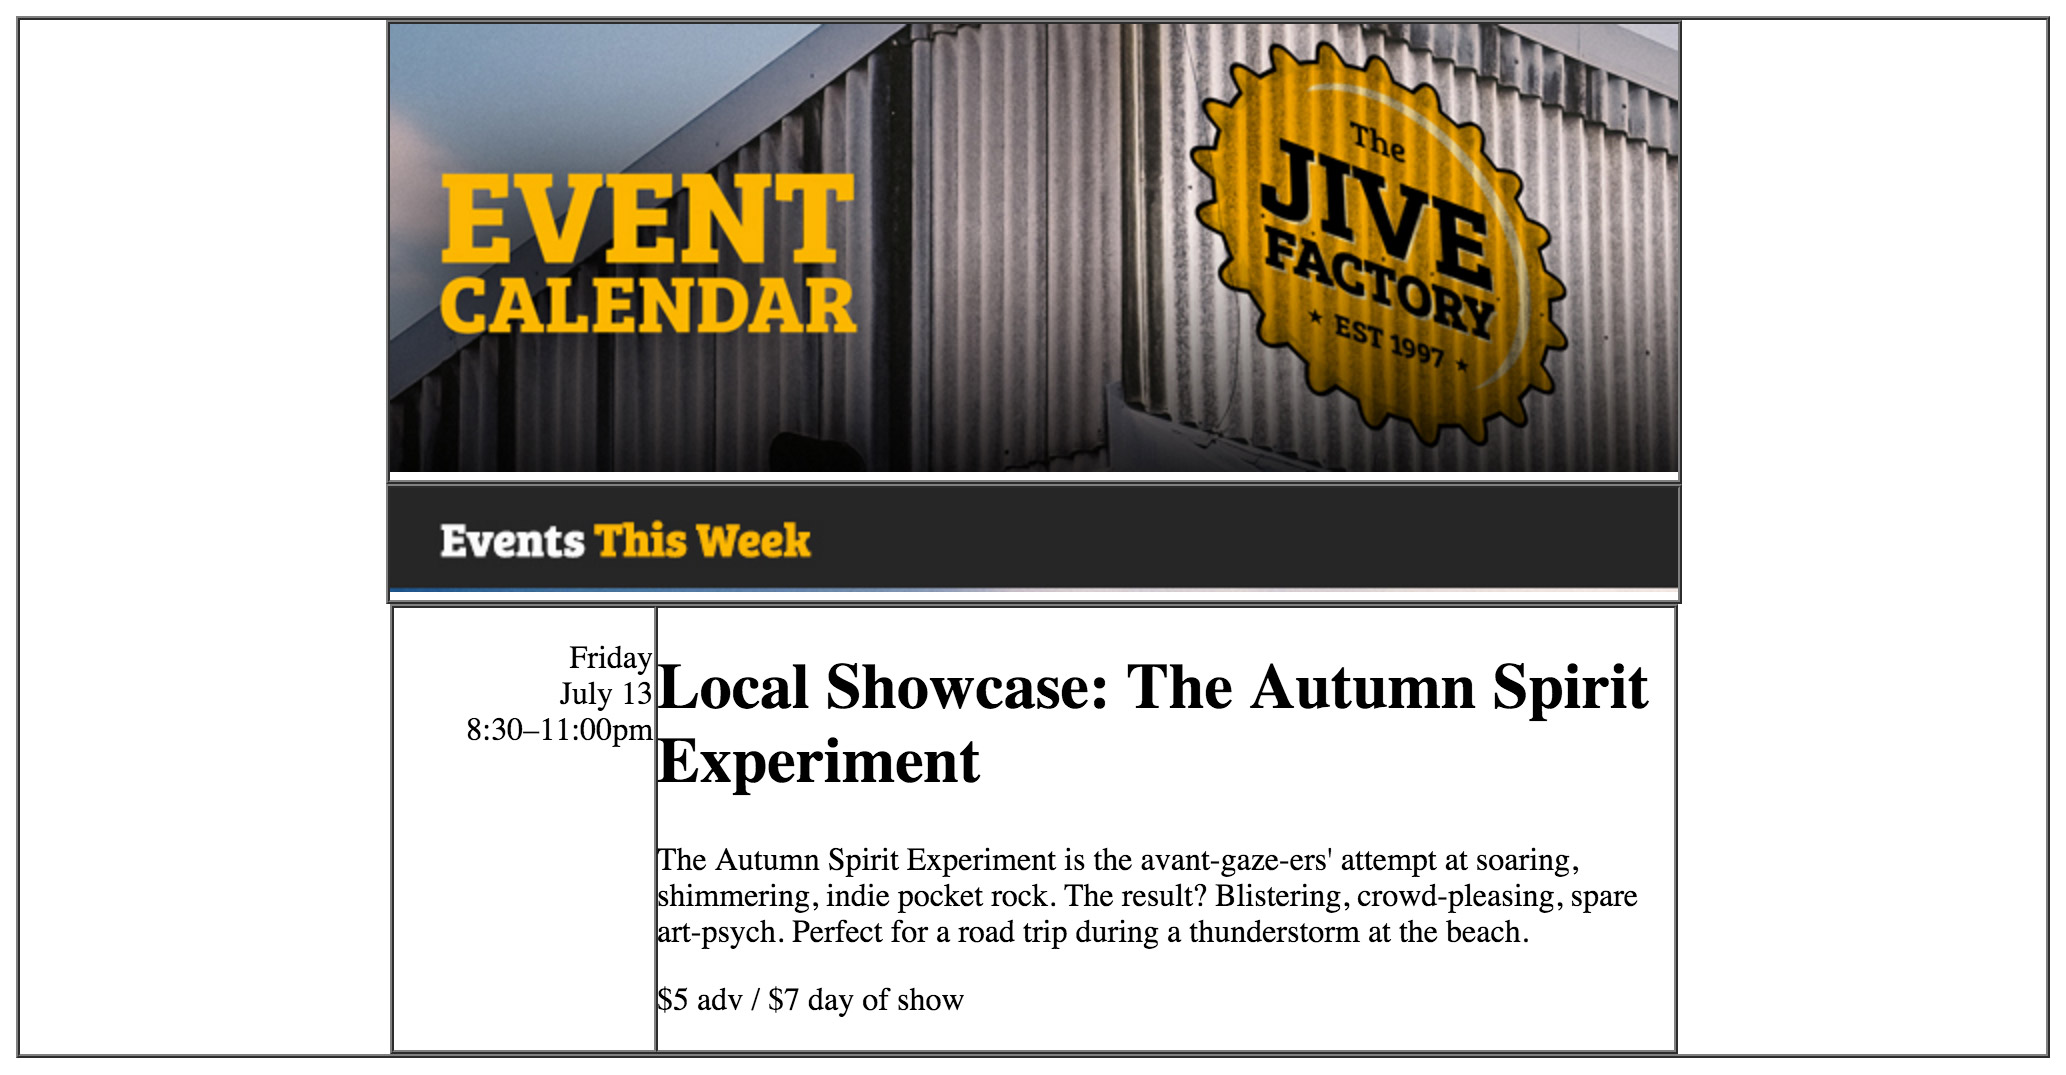
To take a look at the newsletter we’ll be building, navigate to Desktop > Class Files > yourname-HTML Email Class > Jive Factory Done > events-issue21-summer.html.
This will serve as a general guide. Note the large banner image and the Events This Week and Events Next Week images. Each of these can go into a single-column table. Each event, however, requires a 2-column layout. Additionally, the text-heavy events require padding to be legible, whereas the image-filled banners do not have padding.
-
Nesting tables for a layout of this nature is recommended for two key reasons:
- Although colspan is a legitimate HTML attribute that allows you to merge cells across rows, it doesn’t work in Outlook 2007/2010. For a reliable layout, a new table should be created any time you change the number of columns in a row.
- Each table can be a modular piece of content that you can copy, paste, and edit with efficiency without breaking the overall page structure.
Take as much time as you need to review the finished email before you move on to coding up the newsletter. You can leave the page open as you work.
Basic Setup
We’ll be using a folder of provided files for this exercise. This website folder contains images and some code snippets of tagged HTML content for you to use.
Close any files you may have open in your code editor to avoid confusion.
-
For this exercise we’ll be working with the Jive Factory folder located in Desktop > Class Files > yourname-HTML Email Class.
TIP: It’s often beneficial to see the entire website folder as you work. Many code editors allow you to do so. If you’re working in Visual Studio Code, for instance, you can go to File > Open (Mac) or File > Open Folder (Windows), navigate to Class Files > yourname-HTML Email Class > Jive Factory and hit Open (Mac) or Select Folder (Windows).
Open events-issue21-summer.html from the Jive Factory folder.
-
Title the document by editing the code (around line 5) as follows:
<title>Summer Events at The Jive Factory</title>
Creating a Wrapper Table for the Entire Email
Our newsletter design calls for a black background. If this were a standard webpage, we could style the body tag to accomplish this but some email clients ignore styles placed on the body. Let’s create a wrapper table around all the content and set its cell background to black. This will achieve the same goal more effectively.
-
To create a wrapper table for the background color, add the following code (in bold):
<body> <table> <tr> <td></td> </tr> </table> </body> -
Open up the td tag and declare center alignment and the background color attribute, as follows (in bold):
<table>
   <tr>
      <td align="center" bgcolor="#00,000">

      </td>
   </tr>
</table>
NOTE: Do not to rely on the standard browser default behavior for td alignment because email clients can be inconsistent with it. Always declare the desired alignment (left, right, or center) for every table cell you code.
-
Let’s make this table 100% of the page’s width. We should also strip out any default padding and spacing. This is standard practice for most HTML email layouts. Add the following attributes (in bold) to the table tag:
<table width="100%" cellpadding="0" cellspacing="0"> -
To see our table structure in the browser as we build the layout, let’s temporarily add a 1-pixel border. Add the following attribute to the table tag:
<table width="100%" cellpadding="0" cellspacing="0" border="1"> Save the file.
Creating a Header Table for the Banner Image
The first table that we’ll nest into the wrapper will hold the banner image.
-
Add the following bold code, like so:
<td align="center" bgcolor="#00,000"> <table> <tr> <td></td> </tr> </table> </td> -
Let’s set the width of the table to 644 pixels, which is the width of the banner image. We should also strip out the default padding and spacing. Add the following attributes (in bold) to the nested table tag, like so:
<td align="center" bgcolor="#00,000">
   <table width="644" cellpadding="0" cellspacing="0" border="1" align="center">
NOTE: We’re setting a 1-pixel border on all our tables for now so we can see the complex, nested structure. We’ll set the borders to zero once our layout is finished, as is standard practice.
-
Let’s align the new cell to the left and also place the banner image inside the cell. Add the following bold code to the header table as shown below:
<table width="644" cellpadding="0" cellspacing="0" border="1" align="center">
   <tr>
      <td align="left">
         <img src="images/banner.jpg" height="224" width="644">
      </td>
   </tr>
</table>
NOTE: We’ll add the ALT attribute in a later exercise where we’ll discuss the importance of including and styling ALT text for all images.
Let’s see what we have so far. We need to save the file to preview the code. Hit Cmd–S (Mac) or CTRL–S (Windows).
Navigate to the Desktop and go into the Class Files folder, then navigate to yourname-HTML Email Class > Jive Factory.
CTRL–click (Mac) or Right–click (Windows) on events-issue21-summer.html, go to Open with, and select your favorite browser.
-
So far, so good. You can see the header table nested inside the wider wrapper table. Let’s set up the layout for the rest of the content.
Leave the newsletter open in the browser. This will make it easier for you to reload the page to see the changes you make in your code editor.
Creating a Table for the Events Header
- Return to your code editor.
-
Our email will be broken into two main parts: Events This Week and Events Next Week. We have header graphics for each section. Let’s add the first sectioning image. Select the header table code shown below:
<table width="644" cellpadding="0" cellspacing="0" border="1" align="center"> <tr> <td align="left"> <img src="images/banner.jpg" height="224" width="644"> </td> </tr> </table> - Copy the code (Cmd–C (Mac) or CTRL–C (Windows)).
- Paste the table directly below (Cmd-V (Mac) or CTRL V (Windows)) so you have two identical tables.
-
Let’s place a sectioning image into the layout to separate our events. In the new copy of the table (the bottom table), replace the banner image as follows:
<table width="644" cellpadding="0" cellspacing="0" border="1" align="center"> <tr> <td align="left"> <img src="images/events-this-week.jpg" height="52" width="644"> </td> </tr> </table> -
Save the file, return to the browser, and reload the page to see the content. You should now see the Events This Week header image below the main banner image.
NOTE: You may wonder why we didn’t just merge these two images into one. The main reasons are modularity and easier updates. In future versions of this email, we may not have any events this week (maybe only next week). Keeping things in separate tables keeps the layout modular and easy to modify. Another reason (which you’ll learn more about later) is that we can add different alternate text to each image, in case readers don’t load images in their email client.
Creating an Events Table
We will use a table to contain each event section. This approach will not only allow us to assign styles to this section of the newsletter with precision, it will make it easier for us to copy, paste, and edit new events in future newsletters.
- Let’s add some comment lines to make it easier to edit later. Return to your code editor.
-
Below the Events This Week table you just made, add the comments shown below in bold:
</td>
      </tr>
   </table>
   <!—start event listing—>
   <!—end listing—>
</td>
NOTE: A comment is a string of code that the browser ignores. It is often a note a developer adds to provide information about the code, but it can also be used to temporarily disable code for testing purposes.
TIP: In most code editors you can select something you want to comment and hit Cmd–/ (Mac) or CTRL–/ (Windows) to toggle comments on or off.
-
Each event table will have two columns: the left column will contain the date and time of the show and the right column will contain the event details. To create a new 2-column table, inside the comment tags add the following code shown in bold:
<!—start event listing—> <table> <tr> <td> </td> <td> </td> </tr> </table> <!—end listing—> -
Let’s set the table attributes next. Add the following bold code to the table tag:
<table width="644" cellpadding="0" cellspacing="0" border="1"> -
Let’s also set cell alignment. These cells should be aligned left since we’ll be placing text into them. Add the following code (in bold):
<!—start event listing—>
<table width="644" cellpadding="0" cellspacing="0" border="1">
   <tr>
      <td align="left">

      </td>
      <td align="left">

      </td>
To save you some time, we’ve tagged up the content for the events and saved it into a snippets file. Navigate to Jive Factory > snippets and open content-events.html.
-
Select the first paragraph in the file:
<p> Friday<br> July 13<br> 8:30–11:00pm </p> Cut it (Cmd–X (Mac) or CTRL–X (Windows)).
Switch back to events-issue21-summer.html.
-
Paste the paragraph into the first cell of the event table, as shown below.
<table width="644" cellpadding="0" cellspacing="0" border="1"> <tr> <td align="left"> <p> Friday<br> July 13<br> 8:30–11:00pm </p> </td> <td align="left"> </td> </tr> </table> Save the file.
Switch back to content-events.html (Jive Factory > snippets).
Select the content from the first heading, Local Showcase: The Autumn Spirit Experiment, through the paragraph that says $5 adv / $7-day of show.
Cut the content (Cmd–X (Mac) or CTRL–X (Windows)).
Switch back to events-issue21-summer.html.
-
Paste (Cmd–V (Mac) or CTRL–V (Windows)) the content into the second cell of the event table, as follows below.
<table width="644" cellpadding="0" cellspacing="0" border="1"> <tr> <td align="left"> <p> Friday<br> July 13<br> 8:30–11:00pm </p> </td> <td align="left"> <h1>Local Showcase: The Autumn Spirit Experiment</h1>Code Omitted To Save Space
<p>$5 adv / $7-day of show</p>
      </td>
   </tr>
</table>
Save the file. Let’s see what we have so far.
Return to the browser and reload the page. The table structure looks wonderful, but where is our text? The text is black by default and we’ve set the background of the wrapper table to black as well. Let’s delete that attribute for now. We can add it in again later when we’ve styled the text to be a lighter color.
Switch back to your code editor.
Around line 10, find the wrapper cell
<td align="center" bgcolor="#00,000">Cut (Cmd–X (Mac) or CTRL–X (Windows)) the
bgcolor="#000,000"attribute.-
Let’s add a comment to remind ourselves that this is the wrapper table for the black background. Add the following bold code:
<body>
   <table width="100%" cellpadding="0" cellspacing="0" border="1">
      <tr>
         <td align="center"> <!—add bgcolor="#00,000" here—>
            <table width="644" cellpadding="0" cellspacing="0" border="1" align="center">
Save the file and preview the page in a browser again. Now that we can see the content, we can see that the table cells need a bit of formatting. The left column needs to be wider and the content is vertically centered, which is not what we want.
Return to your code editor.
-
Find the event table. It should start around line 26. Edit the left column (the td tag around line 28) as follows:
<table width="644" cellpadding="0" cellspacing="0" border="1"> <tr> <td align="left" valign="top" width="130"> <p> Friday<br> - Save the file.
Return to the browser, and reload the page. Better. Let’s just horizontally align the date and time content to the right instead of the left. Return to your code editor.
-
Edit the table cell that holds the event info (around line 28) as follows:
<td align="right" valign="top" width="130"> - Save the file.
Return to the browser, and reload the page. We could use a little more padding around the content but we’ll get to that in the next exercise. This is shaping up nicely. The structure is in place.
Leave the files open; you’ll use them in the next exercise.
